Laugavegur Trail - resources, information, and tips you’ll need to tackle Iceland’s best-known long-distance trail.
Note: this is the second of two posts about the Laugavegur Trail. The first contains all the “big picture” information, while this includes the day-by-day details. So, let’s get started!
Standard Itinerary of the Laugavegur Trail
There are different ways to break the 55km trail into daily sections. I’ll start with the most common itinerary and follow that with alternatives. Please note: it’s wise to carray a map and GPS in case of disorientation in bad weather. However, in normal weather, you will never need to consult a map since the trail is clearly marked and easily identified at all junctures.
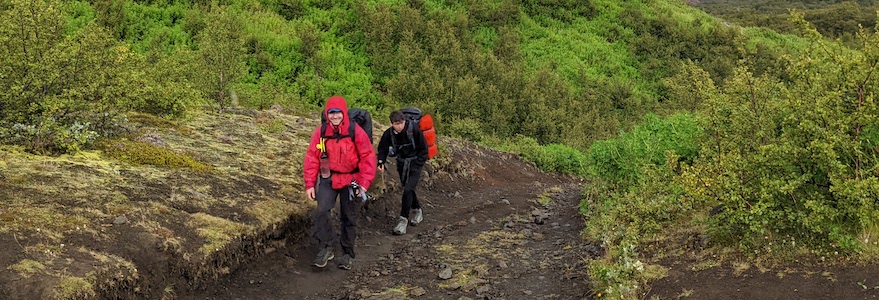
Day 1: Landmannalaugar to Hrafntinnusker - 12km (7.5 mi)
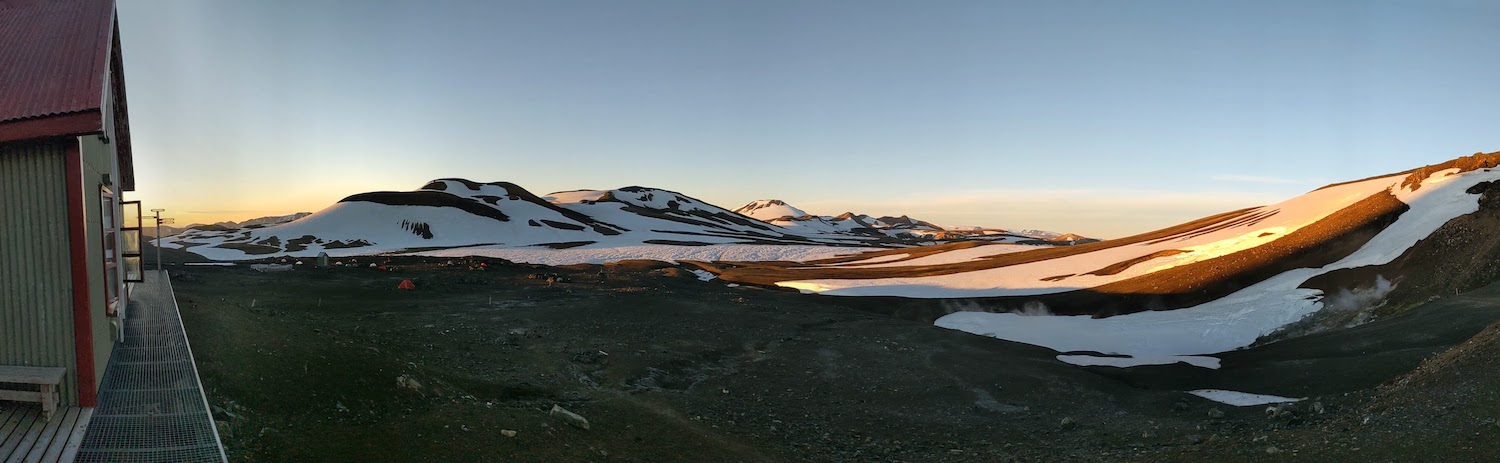
This is the most challenging day of the trek, exposed to the elements high in the mountains with snowy patches and 470m (1540ft) elevation gain. The only sheltered area for a stop along the way is Storihver, a mossy valley full of steaming thermal vents. As anywhere in Iceland, the weather can change rapidly but this stage is particularly exposed. It is also spectacular!
We spent most of one day in Landmannalaugar after arrival for a hike in the immediate area. There are many to choose from, including the hike up Bláhnúkur (“Blue Peak”).
The name Hrafntinnusker comes from Hrafntinna (obsidian) and sker (mountain), although I was also told Hrafn means raven. They’re all very fitting! Landmannalaugar can be broken loosely into land of the people’s pools, with laugar meaning pool.
Day 2: Hrafntinnusker to Álftavatn 12km (7.5 mi)
This is another spectacular day, descending slowly from the high plateau around Hrafntinnusker to an incredible viewpoint from which you can see Álftavatn lake and hut, as well as magnificent Mýrdalsjökull (glacier) in the distance. There are some short, steep, gravelly drops and rises in the first part of the day, then a long descent to the level of Álftavatn, followed by the first river crossing of the trek.
Once settled in the hut at Álftavatn, we took a 4km side trip to nearby Brattháls peak for possibly the most spectacular views of the day (still, in Iceland, it’s hard to pick one “most spectacular”).
Day 3: Álftavatn to Emstrur - 16km (9 mi) (or 4km less if you chose Hvanngil hut)
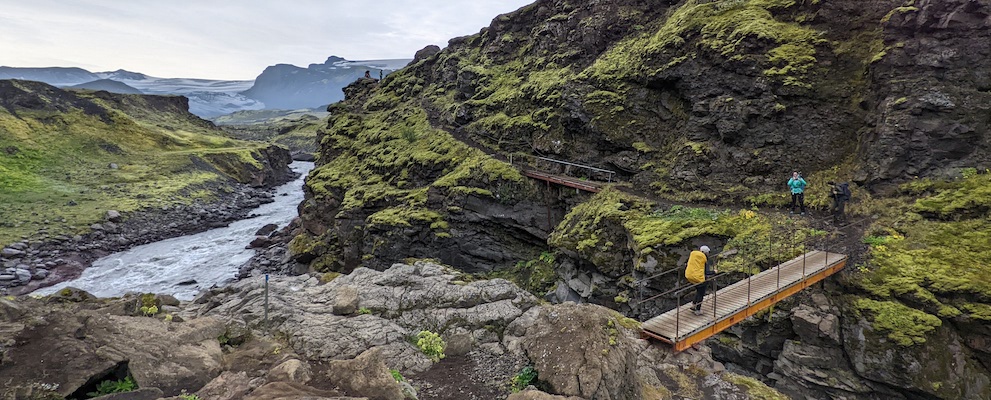
Early in the day comes the first of two river crossings, neither of which we found especially difficult - just chilly! Of course, conditions vary greatly so check with the Álftavatn wardens for advice. The bulk of the day is spent traversing broad, moonlike lava plains, providing yet another amazing change of scenery. About 1km before reaching Emstrur, it’s worth taking a small detour to the right to see incredible Markarfljót river canyon.
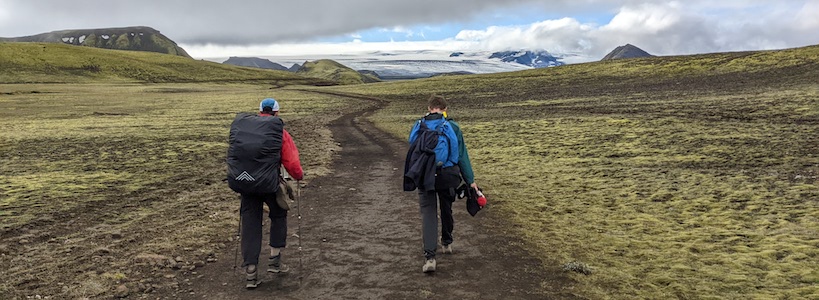
Day 4: Emstrur to Þórsmörk - 15km (9 mi)
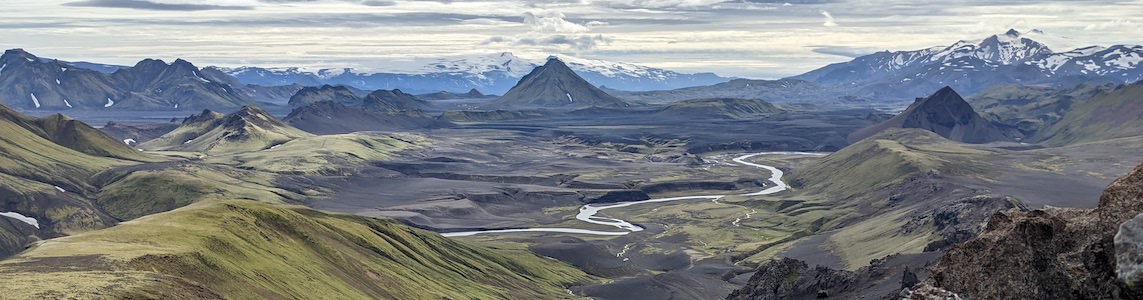
In this last day, scenery changes yet again, following winding river valleys with views of huge glaciers, ravines, and mountains. The first third of the day has a fair bit of upping and downing, following by a long, flat section in the middle and then a final section with several big climbs. You’ll reach one last river crossing and a long uphill, bringing you into forested area Þórsmörk is known for. On the very last kilometers of the trail, watch for the turn to whichever hut or end point you are aiming for since they are quite far apart. Buses usually depart from both, but check with hut staff for updates — if the river is high, busses might only depart from one of the two locations.
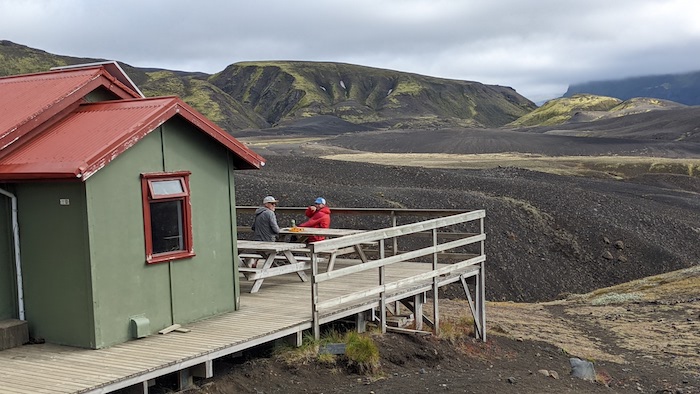
The Ferðafélag Íslands hut in the Langidalur area has a large tent for campers to spend some time out of the elements, while the Volcano Huts area in Húsadalur has a full restaurant with snacks, meals, and souvenirs. There are many more days hikes in the area, a popular destination for Icelandic families.
How to divide the Laugavegur Trail
At first glance, daily distances are quite short, so it might be tempting to combine two sections into one long day. However, with challenging climbs, unpredictable weather, and amazing scenery, we were glad to have some flexibility in how we divided we each day. Some days, that meant lingering to photograph amazing vistas and beautiful details along the trail. Other days, that translated into deliberately late starts to wait out rain or early starts to avoid deteriorating conditions in the forecast. Occasionally, conditions are even so extreme that wardens advise everyone to stay put for an entire day. Therefore, we were glad to stick with the four short days approach, just in case.
Therefore, how you divide the overall trail is largely dictated by hut locations. A more open question is when to actually set off. Shuttle buses that depart Reykjavik at 07:00 arrive at Landmannalaugar at 11:15, making it possible (and practical) to set off on the trail immediately. This is also a good option in terms of trimming expenses and backpack weight since you will pay for one less hut and carry one day’s less food — no small consideration given the cost and challenge of the trail. Another advantage to setting off directly is to get away from the crowds of Landmannalaugar, which is popular for day trippers and campers using it as a home base for day hikes.
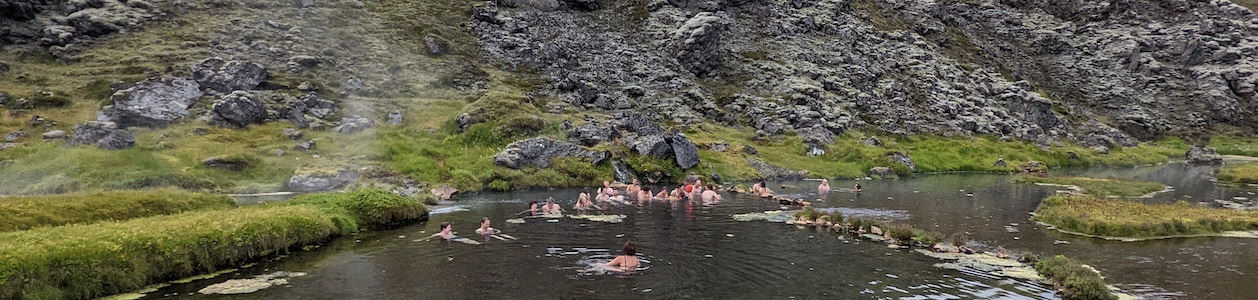
On the other hand, spending one night in Landmannalaugar allows you to explore a beautiful area on one of several day hikes, and it will also allow you to enjoy the hot springs there. (Of course, those can also be crowded!) Starting with a day hike from Landmannalaugar also allows you to ease into the adventure, getting a sense of how distances/elevations/difficulty levels translate for you. Finally, spending a night in Landmannalaugar gives you a little leeway for last minutes fixes, since it has the broadest selection of goods for sale, from maps to scarves, food, and more (all very pricey, however).
Some people combine the first two days into one long one, going from Landmannalaugar to Hrafntinnusker and on to Álftavatn. It is manageable but the experience of a night up in the stark, snowy landscape of Hrafntinnusker was not one we would like to miss.
River Crossings along the the Laugavegur Trail
One of the unique points of the Laugavegur Trail are the river crossings you’ll encounter throughout the hike. Some rivers were very fast and the water was bitterly cold, but we never encountered more than mid-calf-deep water. Of course, this can fluctuate greatly from day to day and year to year.
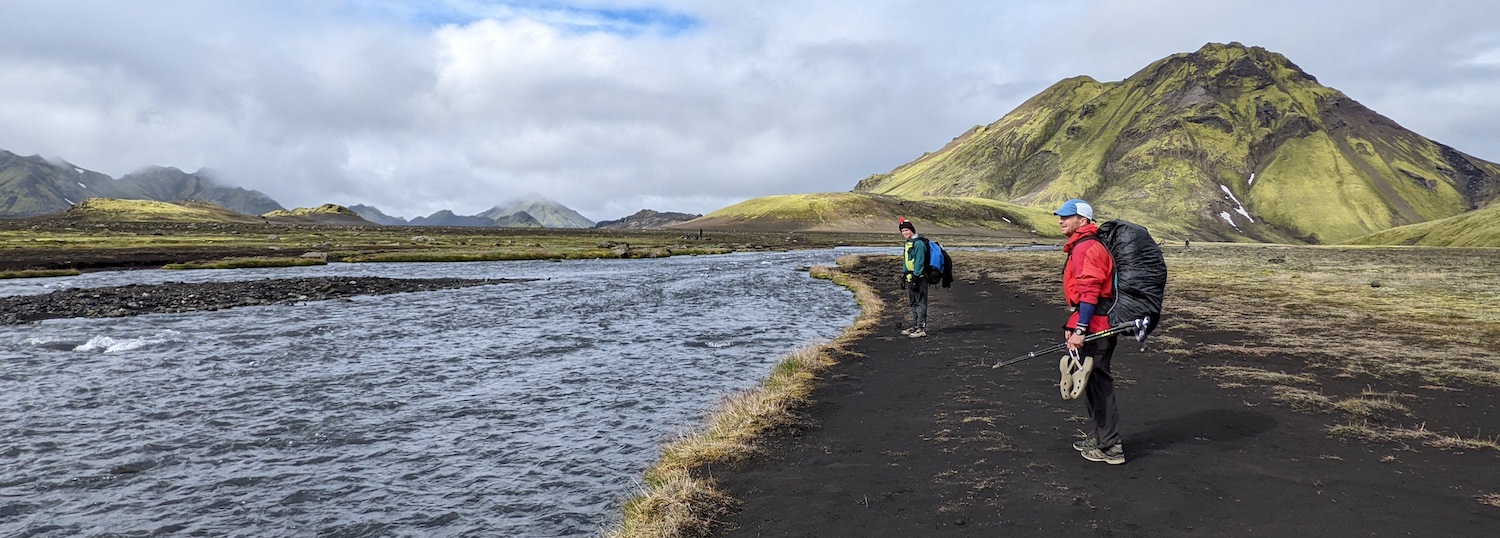
Two factors influence river height and speed: high rainfall is one, and sunny weather is another, because sunshine speeds up the melting of glaciers that feed the rivers. Wardens at each hut post river conditions along with the weather and are happy to advise if you have any concerns. We brought crocs for river crossings and found them to be a great solution. Our hiking boots stayed dry and the crocs doubled as slippers in the huts. Hiking poles gave us extra stability and a healthier posture throughout the hike, and were especially useful for deeper river crossings.
TOP RESOURCES for hiking the Laugavegur Trail
There’s a wealth of information online about the trail, but we found the following to be the best resources in planning our trip.
-
Ferðafélag Íslands - The Icelandic organization that runs the huts (www.fi.is/en/laugavegur)
-
Wapp = a free app with maps and information on the trail. Download each leg before setting out.
-
Handy overview and packing list compiled by a hut warden.
-
Excellent Icelandic weather forecast in English, updated 4 times a day, with elevation profiles of each stage too. Note: the Laugavegur page is only updated during the summer. The rest of the year, it gives an error message - only the home page is live.
-
Useful Facebook group: Laugavegur Trail Iceland - Q & A. This is run by a commercial tour company but it has excellent all-around information.
-
Photographing the Highlands of Iceland by Sven Broeckx is an outstanding ebook guide with GPS coordinates and more.
Finally, I was interviewed about the trek on the Trails Worth Hiking Podcast, which you can listen to here:
What to bring on the Laugavegur Trail
Here’s a brief list of what we recommend packing. It’s a fine balance between having everything you need to stay comfortable without carrying too much!
- mid weight sleeping bag
- sunglasses (for snow)
- rain jacket & pants
- hat and gloves
- hiking poles
- hiking boots - mid weight
- comfortable hiking socks
- layers - thermal shirt, etc
- backpack - 36L or more
- rain cover for backpack
- camper’s meals, snacks
- power bank
- travel towel
- crocs
- camera
- book/reading device
- zip locks to subdivide everything into
I also carry a doggie waste bag to put used toilet paper in during the day. When I reach the next hut, I empty it there. This avoids leaving trash in the wilderness.

So, that wraps up this post, which is the second of two about the Laugavegur Trail. The first contains all the “big picture” information, while this one includes the day-by-day details. I hope both are interesting and helpful, either as planning tools or armchair adventures. Happy travels!