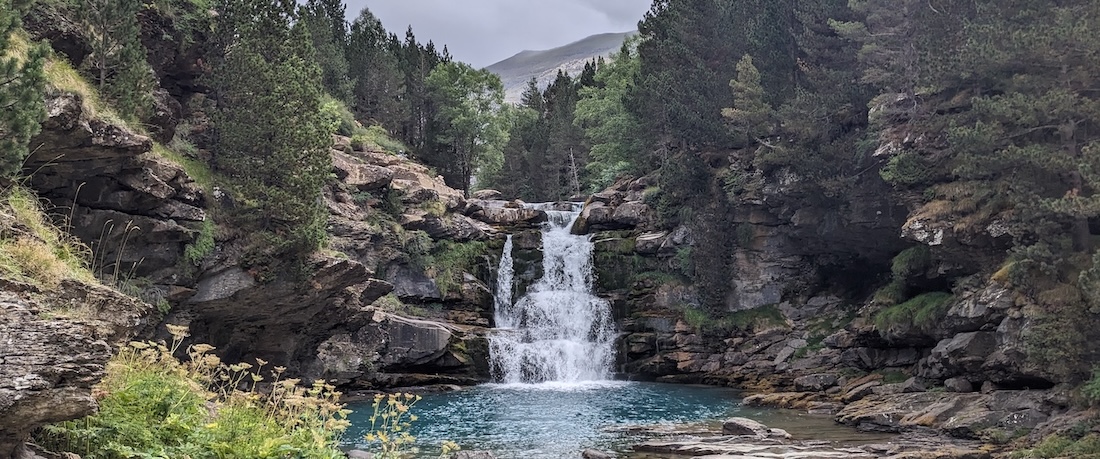
A hut-to-hut loop in the stunning Spanish and French Pyrenees
I always ask fellow hikers for recommendations on their favorite trails, and a woman who’d hiked the entire length of the Pyrenees pinpointed the Monte Perdido area as the most beautiful section of her hike. A year (and much research) later, we set off on the ten-day loop detailed here. By day three, we were listing it among our top-favorite hikes of all times. By the end, we agreed it belonged at the very top of the list, and we vowed to return soon. Why? Grandiose mountain views, challenging yet manageable terrain, the chance to sample the legendary GR10 and GR11 trails, the fun of traversing from Spain to France and back, and less crowded trails than those we’ve experienced in the Alps and Dolomites…to name just a few reasons!
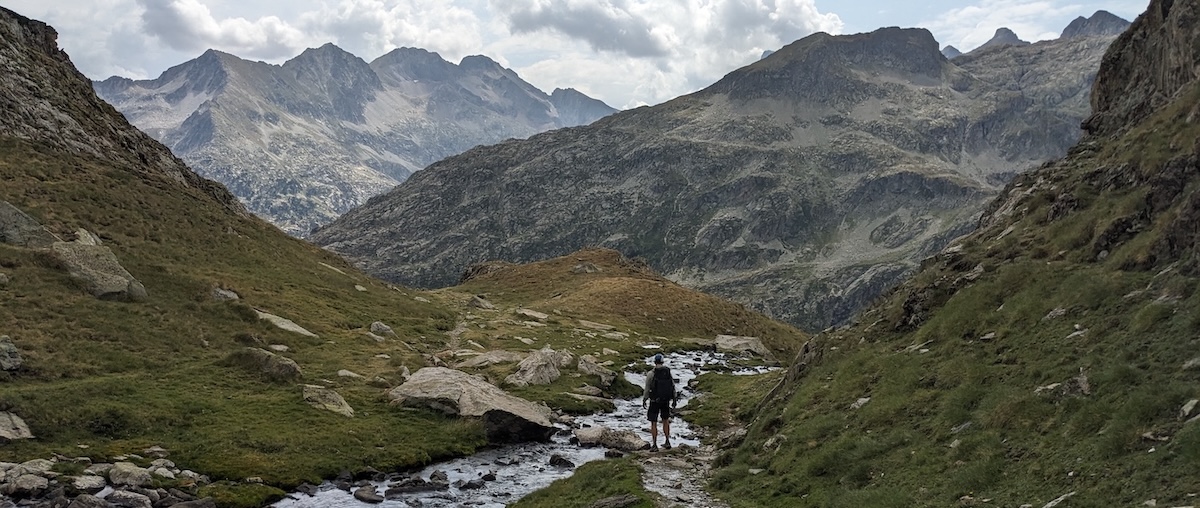
What makes these mountains particularly stunning? Part of that is the geology: folded, twisted rock faces and boulders that look like they’ve been wrapped in twine made of stone. The area is cross-crossed by enough trails to allow you to alter the route to suit your pace, your schedule, and the weather. Finally, we also enjoyed good company, whether by meeting hikers traversing the entire length of the Pyrenees or those concentrating on this spectacular sub-section of that mountain range.
THE TRAIL, the ROUTE, and WEATHER CONSIDERATIONS
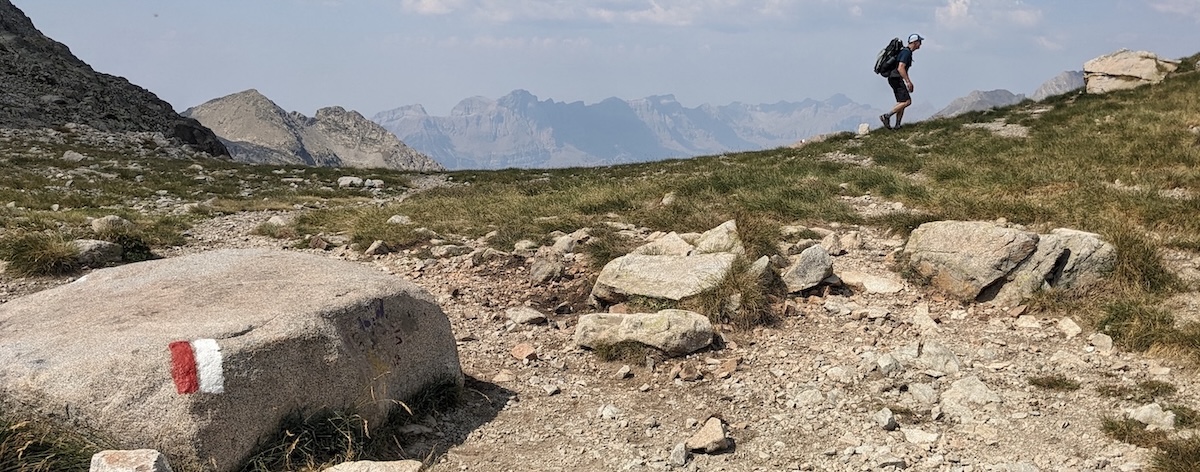
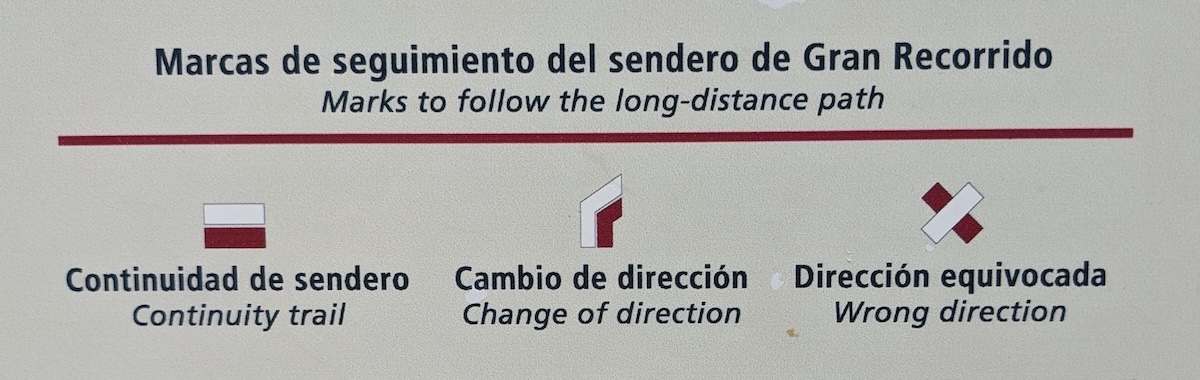
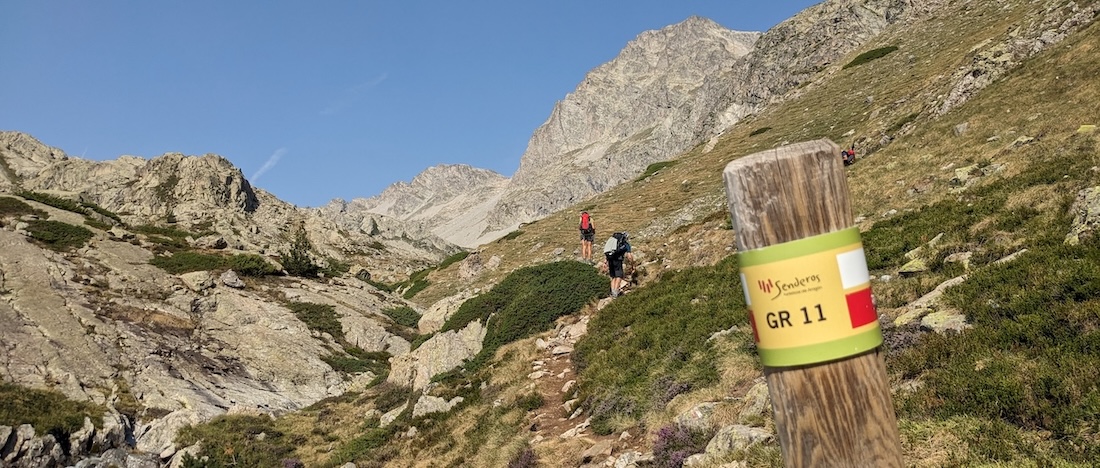
GR stands for Grande Randonée (or, in Spanish, Gran Recorrido), one of Europe’s long-distance hiking trails. GR10 and GR11 both traverse the Pyrenees from coast to coast, with GR10 running across the French side of the range while GR11 parallels it in Spain. This route gives you the best of both worlds by connecting highlights of each. That means you’ll be following clearly marked trails, usually in the form of boulders painted with red-and-white stripes.
You’ll be changing languages and food styles along the way, as well as picking up vocabulary like hourquette (a pass or col), ibones (glacial lakes), and brèche (literally, a breech or gap/notch). The most spectacular of these is the Brèche de Roland, though neither “gap” nor “notch” does justice to this spectacular feature in the landscape!
The route is fairly challenging, with a high mountain pass and at least 1000m of elevation gain on the menu nearly every day. The footing goes from wonderfully soft dirt at lower elevations to stony higher up. On the whole, my tired old knees enjoyed this part of the Pyrenees more than the Carros de Foc trail in Aigüestortes National Park farther east.
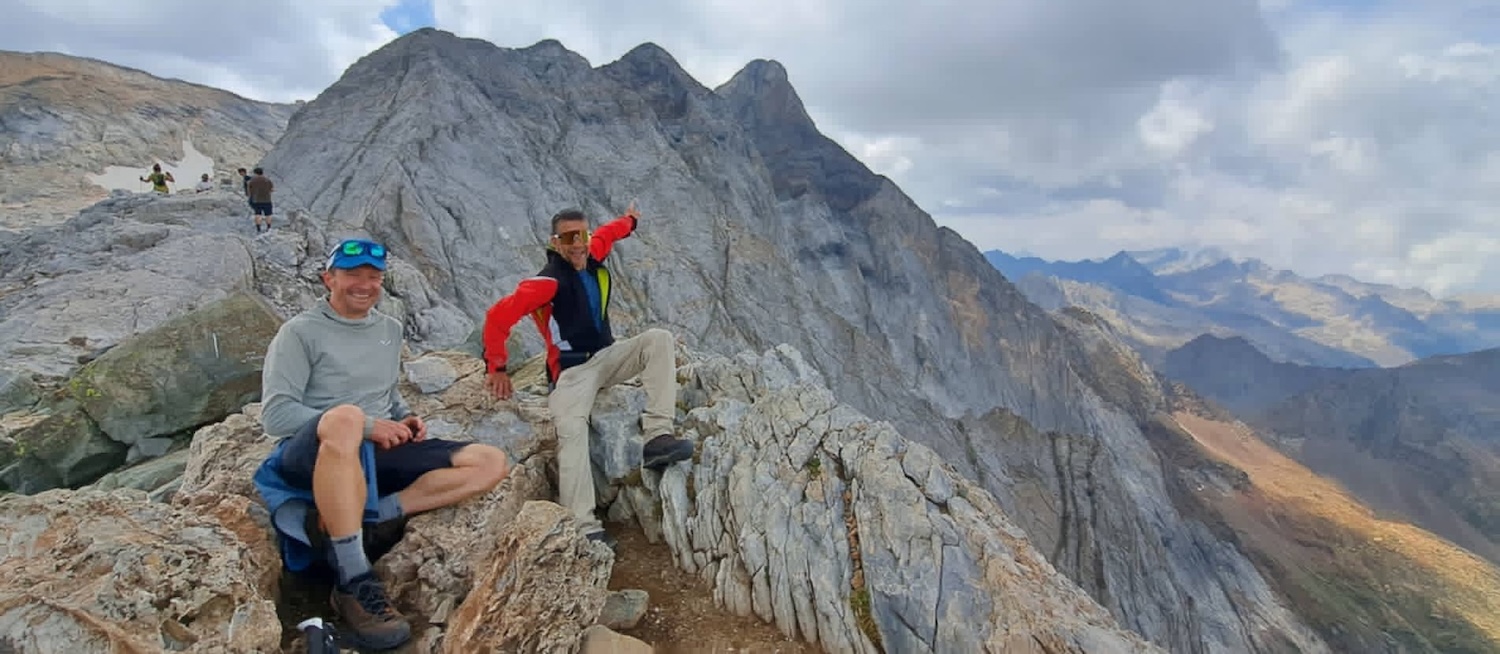
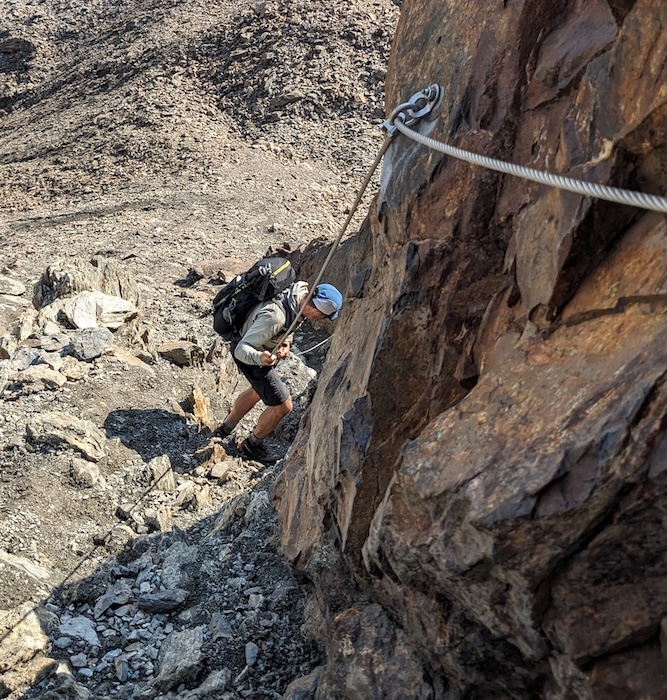
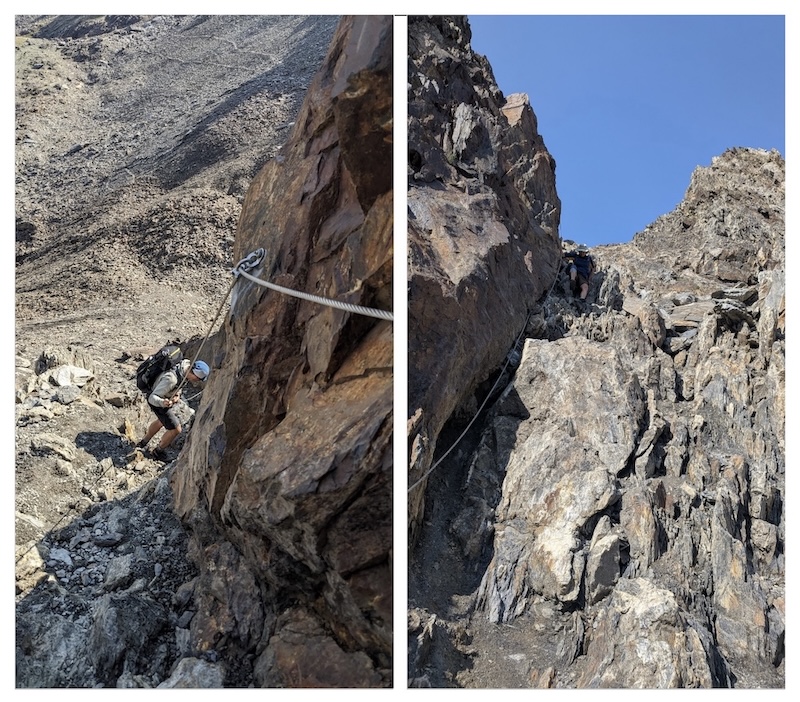
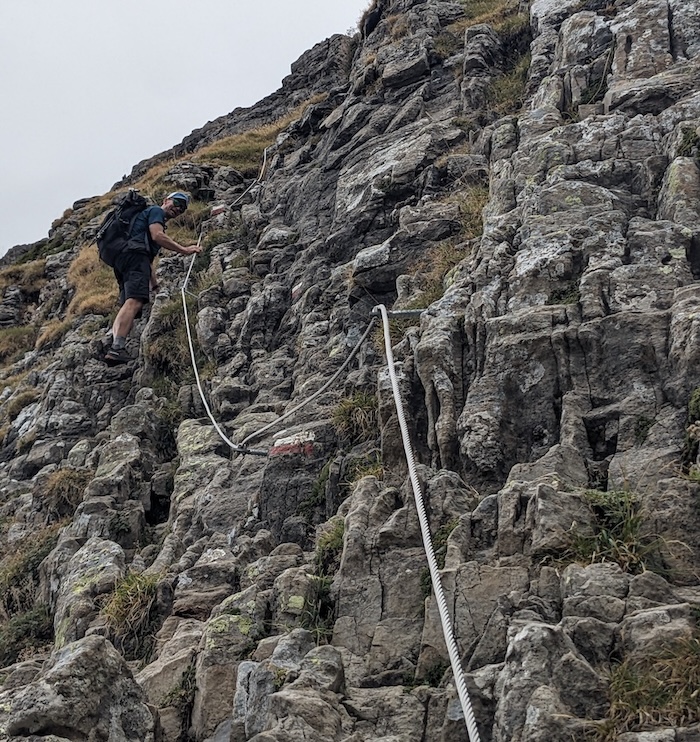
There are, however, a few spots where the trail is more exposed — never a full via ferrata that requires clipping in, but tricky enough to require scrambling up or down, occasionally with cables installed for extra security. So, you must be comfortable with that type of terrain to undertake this loop.
As in many mountainous areas, afternoon thunderstorms are a factor in summer. In our case, that meant getting an early start and hoofing it to reach our next destination by midday on two of the ten days. And boy, were we glad we did when intense storms broke out, shaking the area with the crash of thunder and striking the ground with bolts of lightning. Don’t be fooled by blue skies, and check weather forecasts daily.
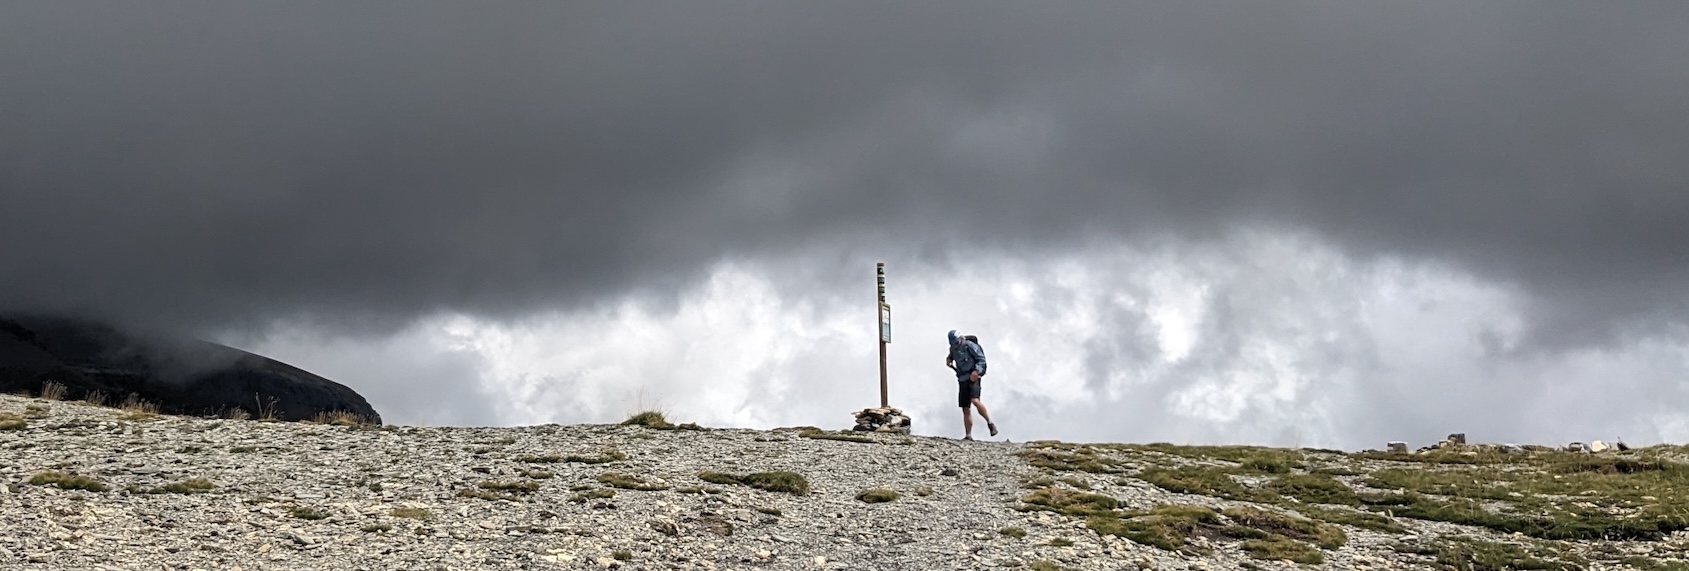
We opted to cover this route by covering modest distances for ten straight days. That allowed us to keep moving and offered some flexibility in case the weather forced a change of plans. If you opt to take a rest day, the best two places to do so are at Refuge Wallon (a stunning, comfortable hut in a beautiful mountain valley) or Gavarnie (a tourist town with a few shops and restaurants). More details on both below.
The entire area is criss-crossed by trails, making it possible to extend or shortcut across parts of this route. For ideas and alternatives, check out routes such as 3000 Ibones, Tour of Vignemale, and Tour de Monte Perdido. Even if you use a digital map, you should carry paper versions as a back-up and to identify alternate routes if the weather forces a change in plans (see “What to pack,” below).
ACCOMMODATIONS & MEALS
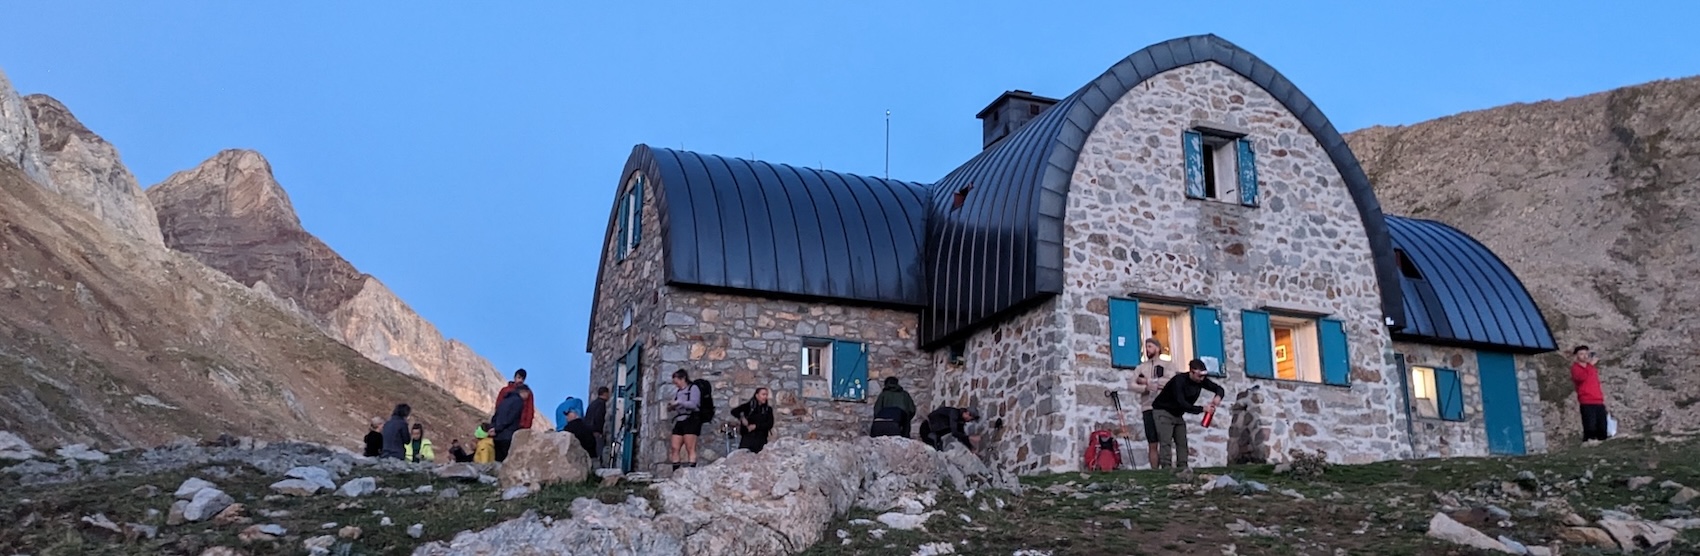
Comfortable mountain huts make it possible to hike this route with a relatively light pack. All offer “half pension” plans that include breakfast and dinner, for a total cost of about €50-70 per person per night with the discount that comes with membership in one of Europe’s national alpine federations, such as Spain’s FEDME or France’s FFCAM. You’ll need to bring or rent a hostel-style sleep sheet, and you’ll be bunking in rooms of six to twelve people. That figure doesn’t include the cost of snacks or drinks.
Huts should be reserved well ahead of time. Refugio Goriz’s location makes it the most popular hut in the Pyrenees, and summer nights there get booked out as early as January, the moment reservations open for the year. Other huts are smaller and thus equally prone to filling up. To reserve your spots in huts, visit the Spanish and French alpine federation websites. Each hut will require a non-refundable deposit of €10-30. Note that while most huts offer showers (sometimes at a fee), two do not (Bayssellance and Espuguettes).
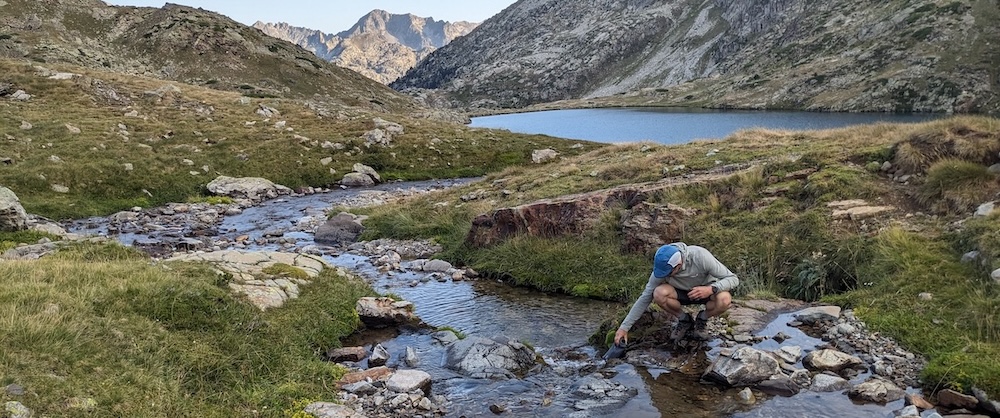
Camping, on the other hand, is mostly free (or at a modest charge if you’re using one of the mountain hut’s facilities). That means total freedom and more privacy, but a heavier load and exposure to the weather. Of course, it’s possible to combine both by ducking into huts at times to avoid the worst weather — if those huts are not fully booked. We enjoyed meeting fellow hikers over dinner at the huts, and we were really, really glad to have a solid roof over our heads on the three nights of intense lightning storms.
If you wish to camp, you’ll have to note regulations for different sections of this trail. You’ll actually be bivouacking, which means only setting and breaking camp within an hour of sunset or sunrise, and only above a certain altitude (generally 1800-2000m, but this varies).
Camping is not permitted in the entire Ordesa sector of Ordesa y Monte Perdido National Park except at Refugio Goriz, which only issues permits for 50 people per night. Those fill as quickly as spots in the hut do, so book early.
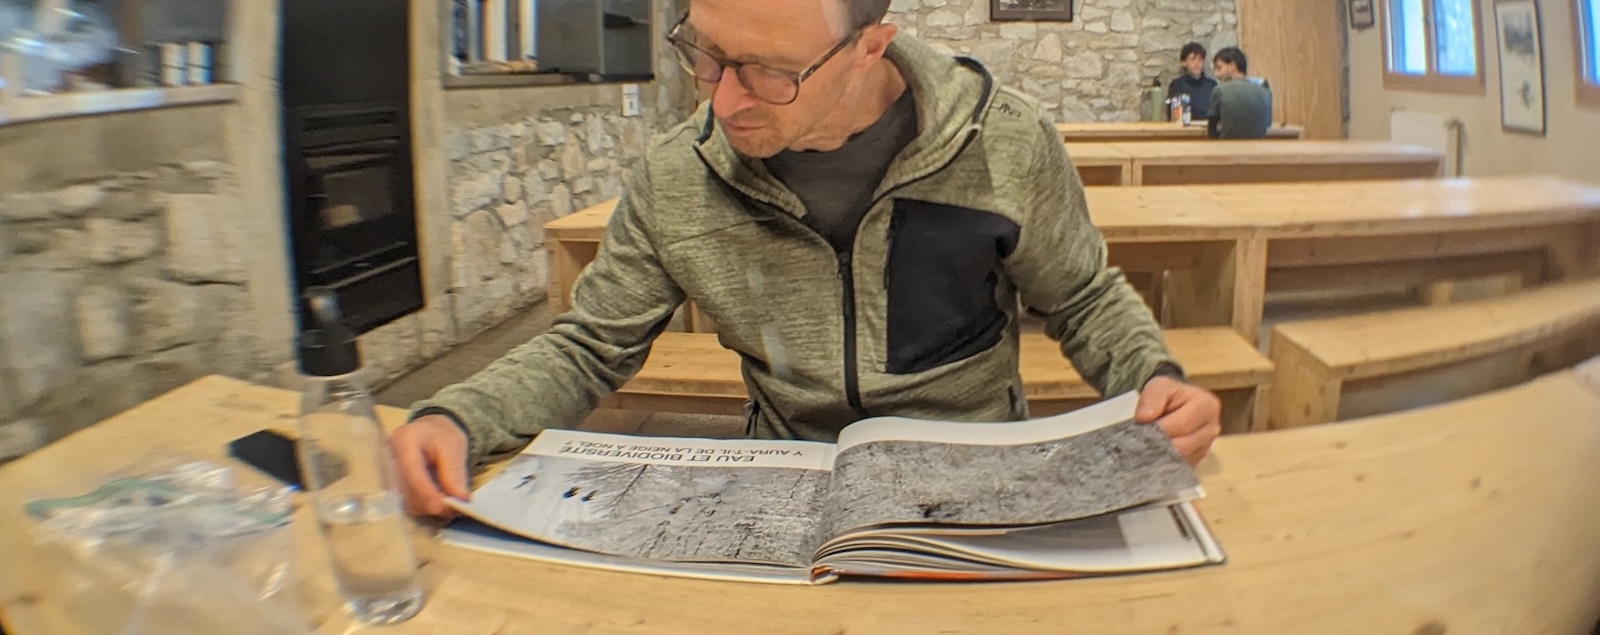
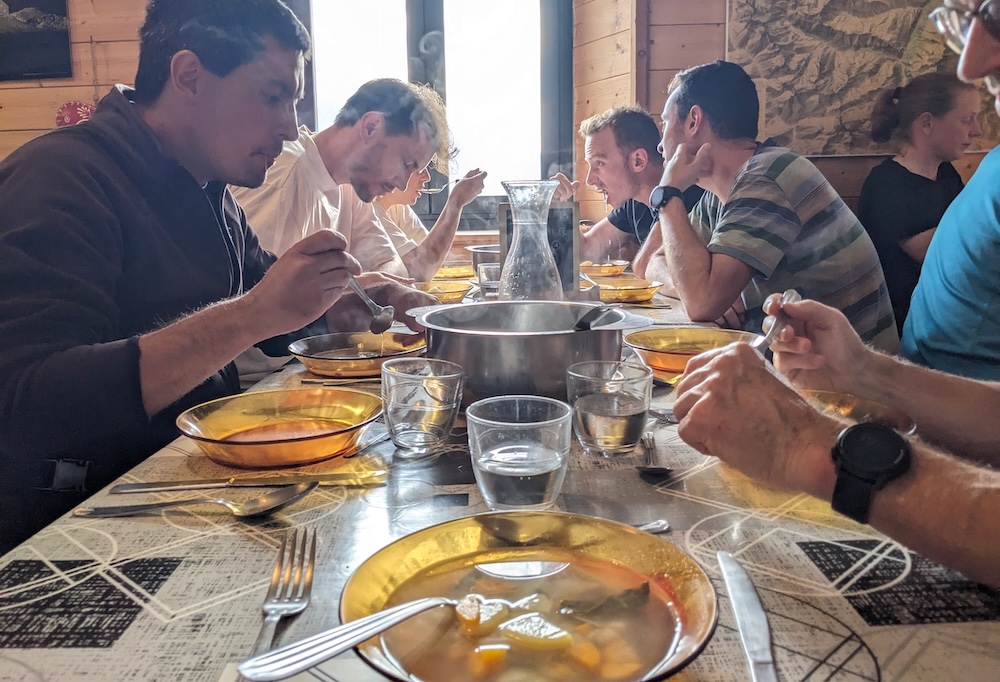
Most huts offer picnic lunches to go, but we brought our own lunch supplies (bread, cheese, sausage) and re-stocked at the shop in Gavarnie. Hut meals are generally hearty and tasty. We found main courses to be equally good in huts on both sides of the border, but French huts provide much tastier snacks and home-made desserts. (The Spanish huts only sell packaged chocolate bars, etc). Only breakfasts tend to be spartan, so we were very glad we brought packets of instant oatmeal to supplement those.
GETTING THERE AND GETTING AWAY
The easiest places to access this hike are Torla on the Spanish side and Gavarnie on the French side. Torla (“Day 1” below) can be reached by public transportation from Barcelona, but that requires many, many transfers from bus to bus (and probably an overnight stop along the way). We hired a rental car from Barcelona airport and left it parked in the huge, free public lot in Torla for the duration of our hike.
Reaching Gavarnie (“Day 7” below) by public transportation is much easier, though the distance to major airports in Paris is greater. You can hop on a train from Paris to Lourdes (5 hours on the TGV), spend a night there, then hop a bus to Gavarnie (80 minutes). Toulouse airport is much closer but flights are generally more expensive.
DAY 1: TORLA to BUJARELO - 12.5km, ↑535m, ↓190m
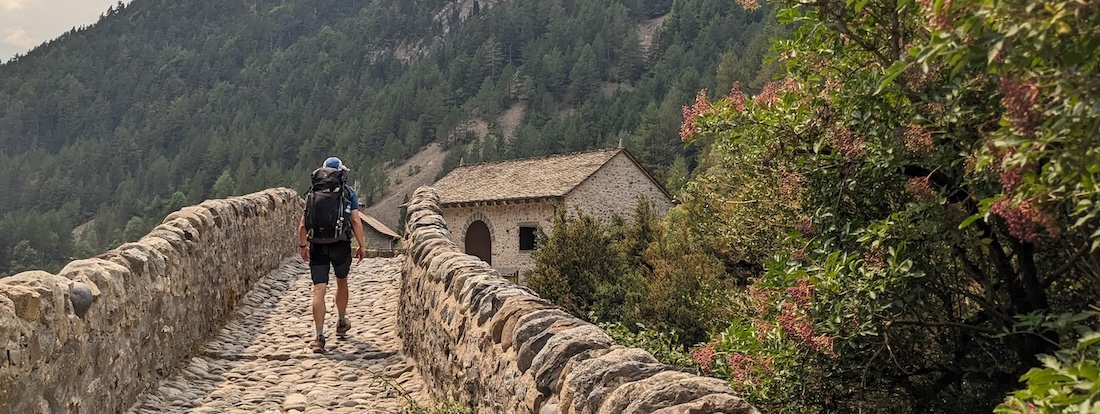
The first day of this hike is nice if not spectacular, but it does it’s job in terms of getting you deeper into the mountains. Starting directly from the car park in Torla, follow signs for Bujarelo/San Nicolas de Bujarelo along the river. Watch for the left turn over the river (away from the main road that bends right into Ordesa Canyon). This will put you on the GR11 with its white-over-red paint marks. The trail winds mostly through forest over a variety of terrain (some steep, some level, with a few short, slightly exposed sections).
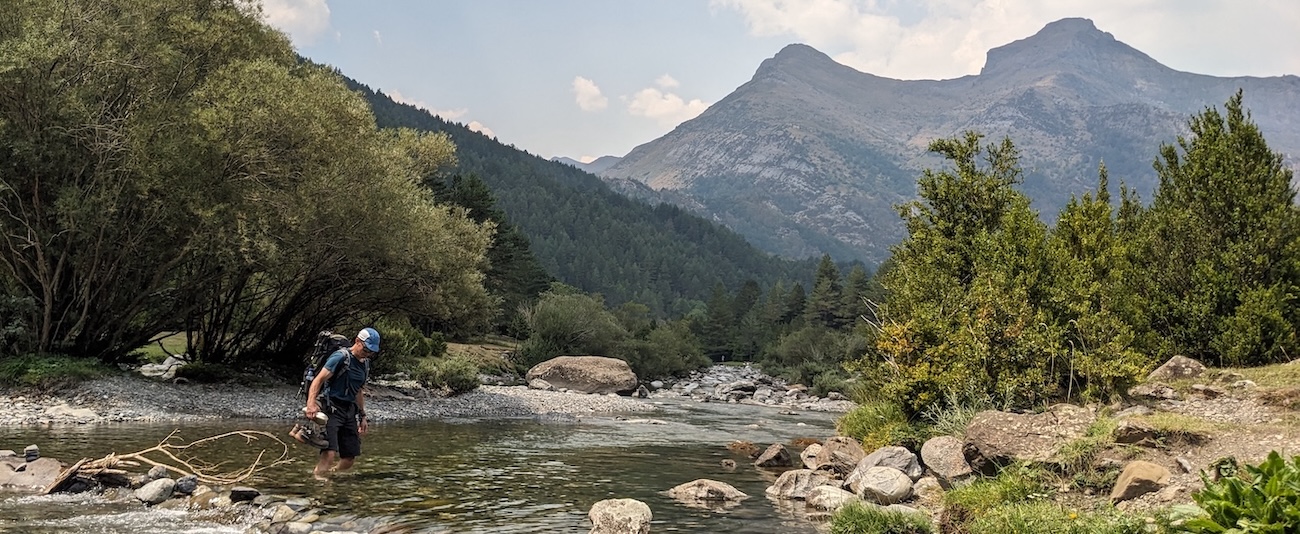
Eventually, you’ll reach a lovely meadow with a stream that begs you to enjoy a dip before continuing on your way. Finally, you’ll cross a pretty Romanesque bridge (not Roman as some poorly translated signs claim) and reach the hut at Bujarelo. Unfortunately, the hut is also accessible by a back road, so it’s quite a busy place with lots of car campers. Think of this as your springboard into the wilder part of the mountains and enjoy the surrounding scenery knowing you’ll be away from roads and crowds soon.
DAY 2: BUJARELO to PANTICOSA - 22km, ↑1315m, ↓1020m
Leave Bujarelo following GR11 toward Panticosa/Casa de Piedra hut. This takes you up a long, gradual climb with views of waterfalls. You’ll have a gurgling river on your left and an overhanging cliff to right, which echoes the sound of the river back to you — a lovely effect! The gradual climb continues through a long, beautiful valley to the foot of the Cuello Alto de Brazato pass. There are plenty of water sources to fill up on along the way. Then it’s up, up, up a stony track to the pass (2566m), with great views along the way and finally, a long descent into Panticosa.
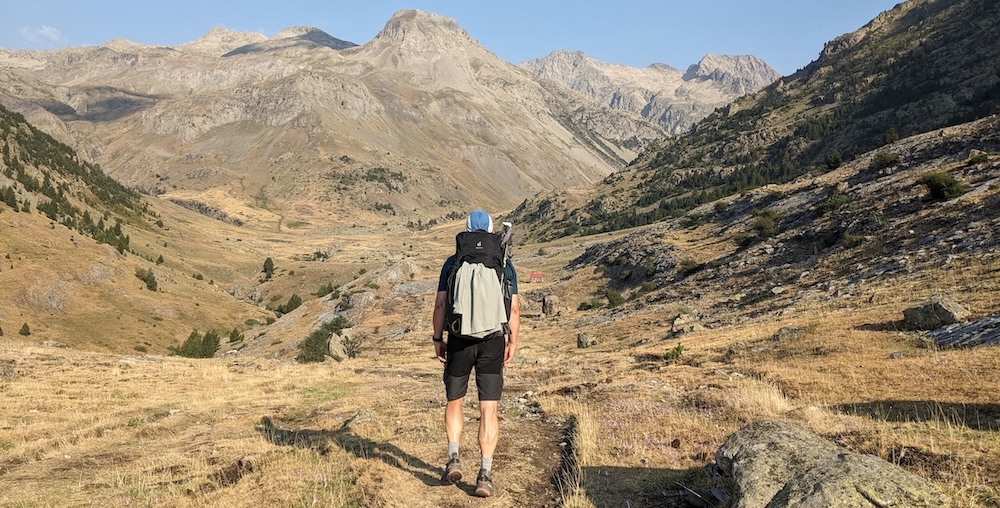
After a beautiful day in what feels like the heart of the mountains, it can be jarring to emerge at the thermal spa resort at Panticosa. Yes, an actual resort with a big parking lot, with the Casa de Piedra hut tucked away behind it.
For that reason, it makes more sense to shortcut to the nicer, quieter Bachimaña hut (officially, “Refugio de los Ibones de Bachimaña”) instead of descending all the way down to Panticosa, only to climb out again in the direction of Bachimaña the next day. That branch-off is clearly marked about 1.5km after the Brazato pass. The only catch is a potentially trickier trail over ledges and through tunnels. Therefore, I suggest you ask around, study the map carefully, and read posts like this one that describe that alternative route, which would save 3km and 500m of unnecessary elevation loss and gain.
DAY 3: PANTICOSA to RESPUMUSO - 14km, ↑1215m, ↓815m
If you didn’t shortcut to Bachimaña, your first order of the day will be to ascend to that hut, then continue uphill, following the well-marked GR11 toward Respumuso. All in all, it’s another beautiful day high in the mountains. The GR11 will eventually lead you over the Cuello del Infierno (2721m) on a trail that is steep in places but not otherwise challenging. You can stock up on water at the stream and lake before ascending to the pass.
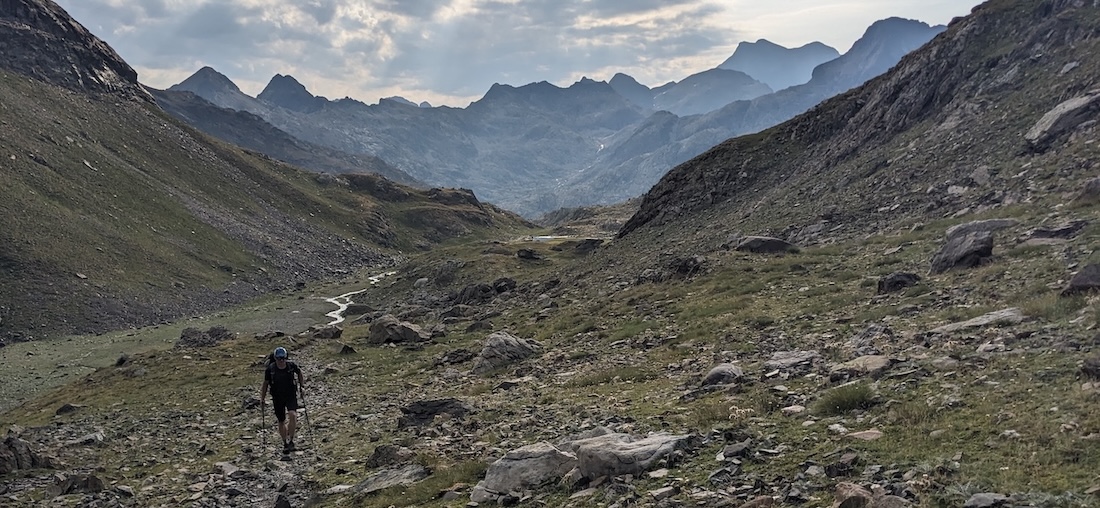
Once at the top, the trail doesn’t immediately descend. Instead, it follows a contour line high above a lake and climbs to a second peak, Cuello de Tebarray (2782m). The last part of that ascent is a very steep uphill scramble that was on the edge of my comfort zone. That’s followed by a plunging gully said to be one of the most challenging points of an eastbound GR11. However, by taking my time and keeping hold of the cable there, I found it manageable. Once you make it over that 70m section, it’s an easy, mostly downhill walk to a pretty lake and onward to Refugio Respumuso.
DAY 4: RESPUMUSO to WALLON - 12km, ↑634m, ↓910m
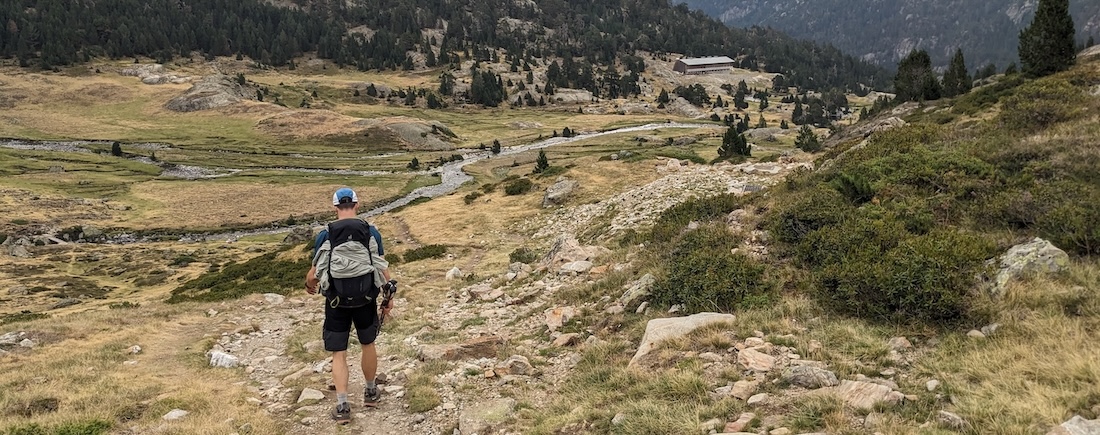
This relatively short day will take you from Spain to France and eventually, the GR10. You start by backtracking 1km, then leaving the GR11 for the marked trail to Refuge Wallon. At this point, you’ll lose those handy red/white paint marks, so keep an eye out for cairns marking the main trail. You’ll climb steadily along a river to a ridge before continuing steeply over loose gravel to Col de Fache (2652m) and the French border. Keep to left side of the pass to find the path down.
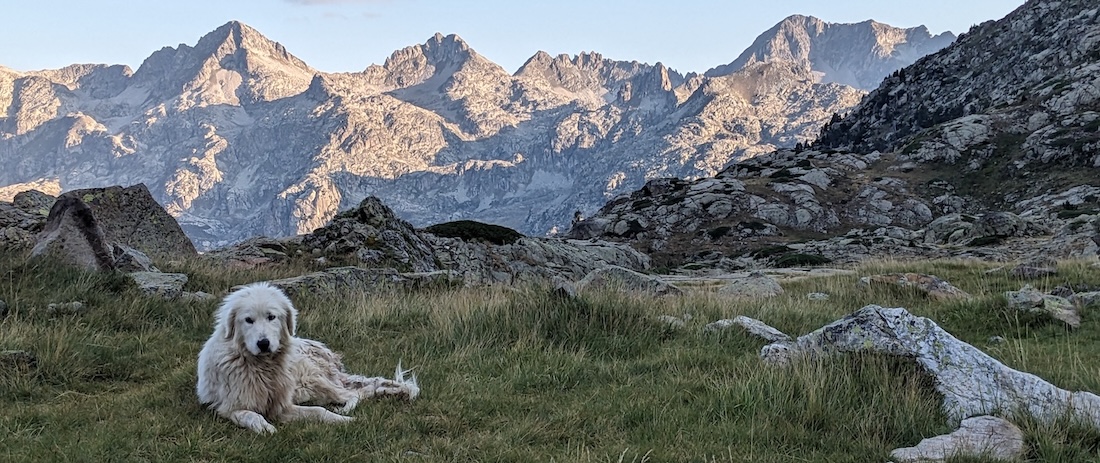
The descent, which takes you through a marmot metropolis, is not difficult, and you’ll soon reach a nice lakeside picnic spot. As you continue toward Wallon, you’ll see another trail connecting in from the right — the challenging “shortcut” from Bachimaña to Wallon. Refuge Wallon is a stunning, spacious place thanks to a recent seven million Euro makeover and therefore a great place to schedule a rest day.
DAY 5: WALLON to BAYSSELLANCE - 14km, ↑1500m, ↓660m
This is a big climbing day, but much of that is steady going with only a few really challenging spots. Leave the beautiful valley around Refuge Wallon and climb to the first pass of the day, Col d’Arratille (over 2500m). Like the previous day, the trail takes you over a ridge line to the first visible pass, then dips into a bowl on the other side. This actually brings you back into Spain, but not for long! After reaching the ridge, you’ll descend a bit, then follow the contour line and eventually ascend another 150m to Col de Mulets (2591m) — now back in France!
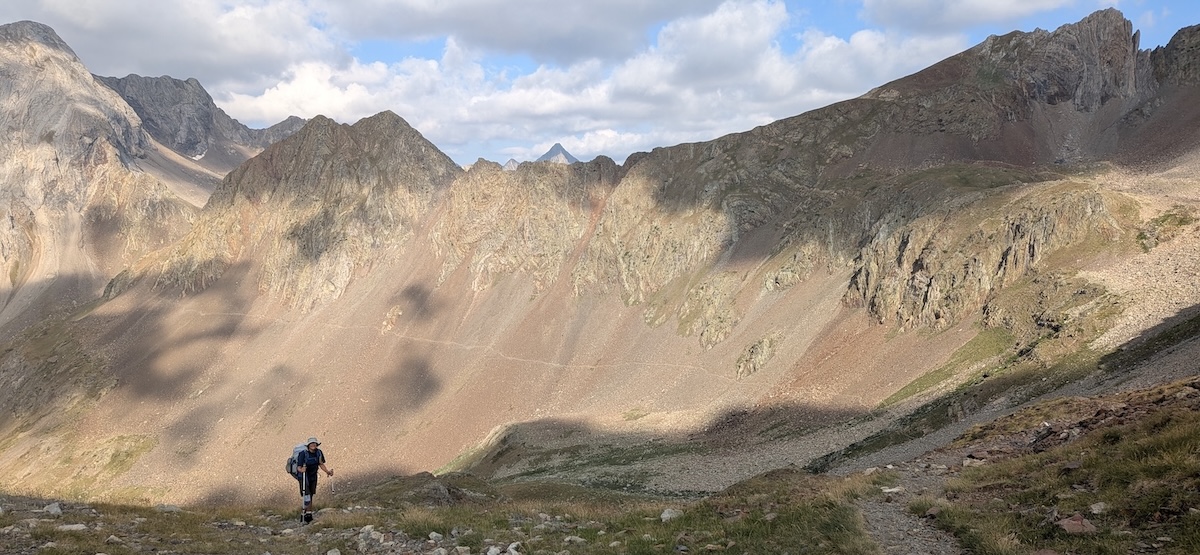
That’s part one of this day. The second part is a long descent into the next valley and Refuge Oulettes de Gaube. As you descend, you can already see switchbacks snaking their way up the opposite side of the valley which will eventually take you to Refuge Bayssellance. But Refuge d`Oulettes comes first — a gorgeous spot at the base of imposing Pic Vignemale (3298m; the highest peak in the French Pyrenees) as well as the Glacier des Oulettes de Gaube. Sadly, there’s not much left of the glacier, but it’s still a spectacular sight.
After a break at the hut, follow the marked trail (the eastbound GR10) to the next pass, Hourquette d’Ossone (2734m). Refuge Baysellence is only 15 easy minutes from the top. Many hikers ditch their backpacks at the pass for the 90 minute round-trip hike to the summit of Petit Vignemale (3032m).
Refuge Bayssellance, the highest hut of this loop (2651m), is a very busy place where lots of campers while away the hours before sunset when they are allowed to pitch camp. The hut itself is rather dark and cramped, but the staff are nice and the views to surrounding peaks and the Brèche de Roland are spectacular. Read up on the legend behind the name Brèche de Roland here. Contrary to what we’d expected, Bayssellance had free drinking water and even a stall with a sink where we could freshen up.
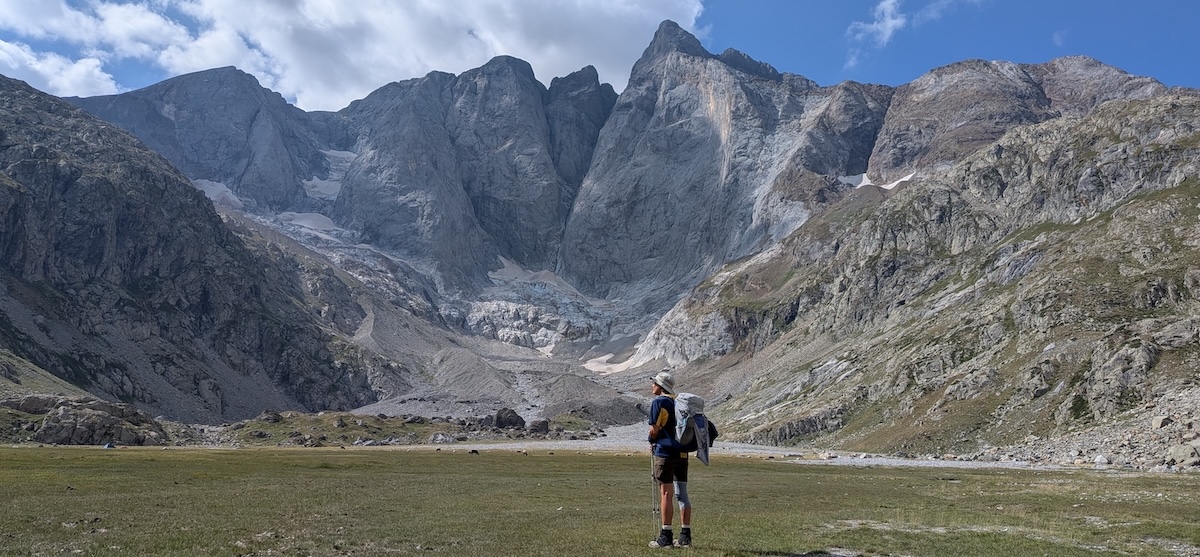
DAY 6: BAYSSELLANCE to GRANGES de HOLLE - 16km, ↑302m, ↓1400m
This day may only ascend a total of 300m, but lots of downhill walking makes it more tiring than statistics suggest. The views are great, first through a tight curve in the mountains and then over a broad, grassy valley. On the way down, we had to detour around an ice arch we didn’t trust.
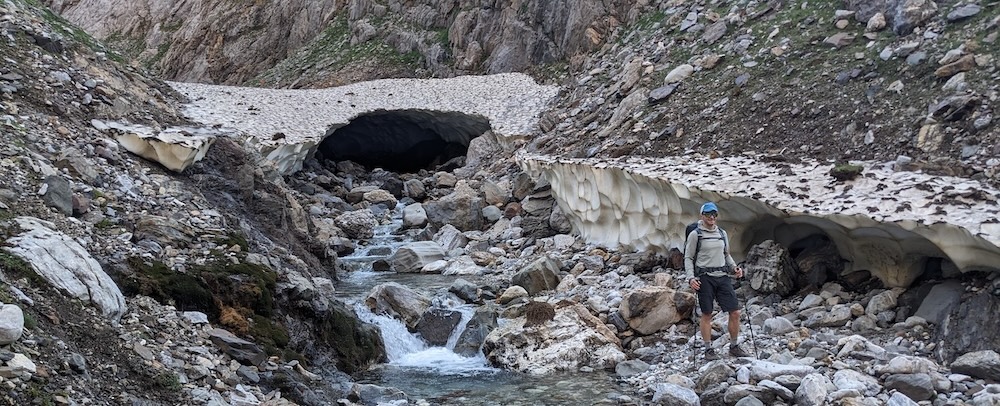
Eventually, you’ll reach a dam and turn right. After a bit of uphill walking, you’ll undulate along a contour line along nice soft ground. Along the way, you’ll pass three stone shepherd’s huts, each about 2km apart. Then comes the final descent to Granges de Holle (1495m), a pleasant hut just outside the tourist town of Gavarnie. This is another good option for a rest day with access to a few small shops and restaurants.
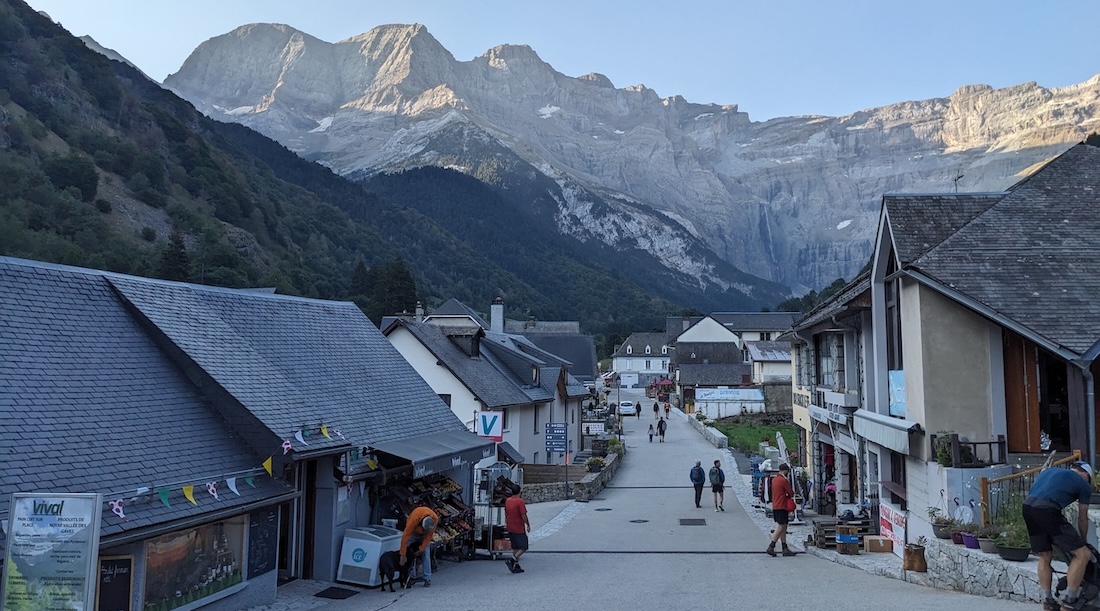
DAY 7: GRANGES de HOLLE to ESPUGUETTES - 14km, ↑720m, ↓230m
A 15 minute walk will bring you into the town of Gavarnie. You could set off early to beat the crowds (which stream in from 9am onward) or aim to arrive at 9 or 10am, when stores like the small Vival supermarket open. Those crowds are drawn by spectacular views of the Cirq de Gavarnie and its spectacular, plunging waterfall.
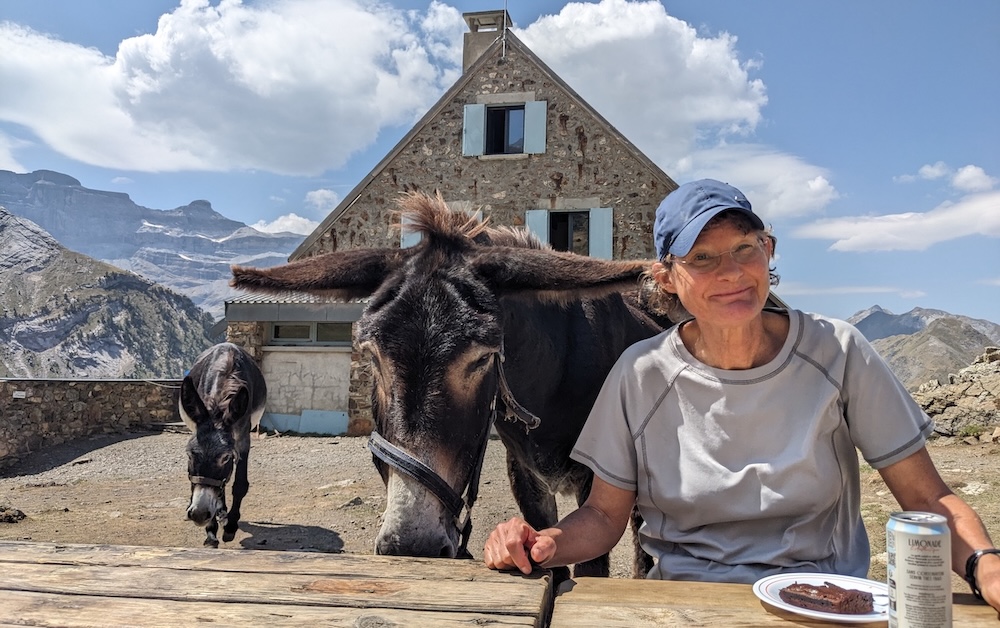
Between Gavarnie and the beginning of the climb to Hotel de Cirq lies a 2km floodplain — a lovely wooded area with multiple streams fed by the waterfall above. The climb to the Hotel de Cirq is easy and crowded with day trippers, who you’ll leave behind when you branch off toward Espuguettes. You’ll climb gradually along a shady path under a cliff, then begin to ascend through meadows to the hut. Donkeys roam this area and occasionally snatch food from unwary hikers, so keep an eye out!
DAY 8: ESPUGUETTES to PINETA - 17km, ↑713m, ↓1472m
From Refuge Espuguettes, it’s a steady 50 minute uphill walk to Hourquette d’Alans (2430m), where you’ll enjoy great views back over the refuge to the cirque. Then you’ll drop into the next valley, where you’ll see the next pass (Puerto de la Lera, aka Puerto de Pineta) straight ahead in the distance (approx. 90 minutes away). There are virtually no trail markers back here except for cairns erected by hikers, but the path is very clear.
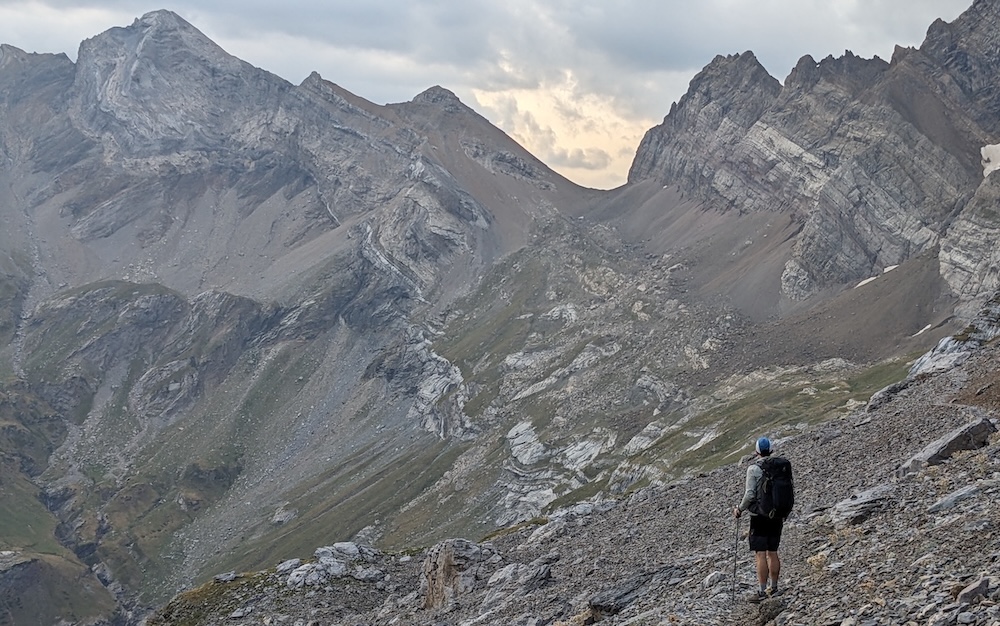
About halfway across this section, ignore a branch-off to the right leading to the Brèche de Tuquerouye (also spelled “Tucarroya”), which is described as extremely challenging to downright treacherous. Instead, continue straight ahead to Puerto de la Lera (2460m), gaining another 200m of elevation along the way. Although the climb is strenuous, the terrain is not too difficult.
The top of the pass brings you back into Spain and sweeping views of Pineta valley. It’s a long descent all the way to the valley floor, starting with a section of loose gravel and incredible views of waterfalls. This trail is poorly marked, with several rocky scrambles along the way. Eventually, you’ll reach a gentle, wooded path crowded with day trippers. That opens to a huge car park, where you should continue straight, paralleling the right side of river for the last 2km to Rifugio Pineta (1240m). From this point on, you’re back on the well-marked GR11, now heading west. We covered this fairly long day in 7 hours, including breaks.
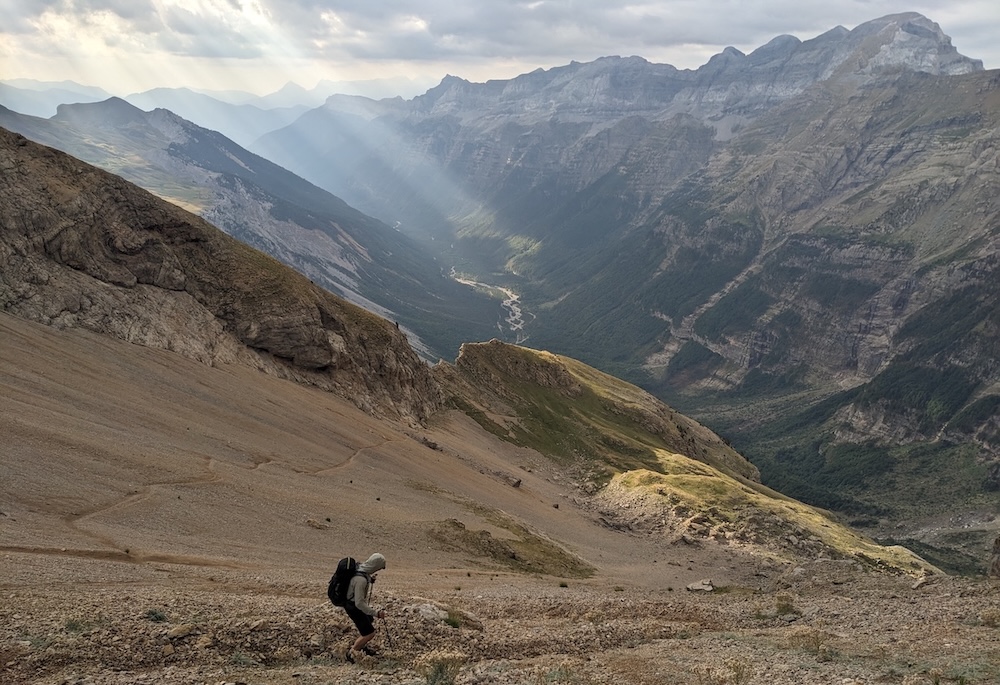
DAY 9: PINETA to GORIZ - 15km, ↑1900m, ↓980m
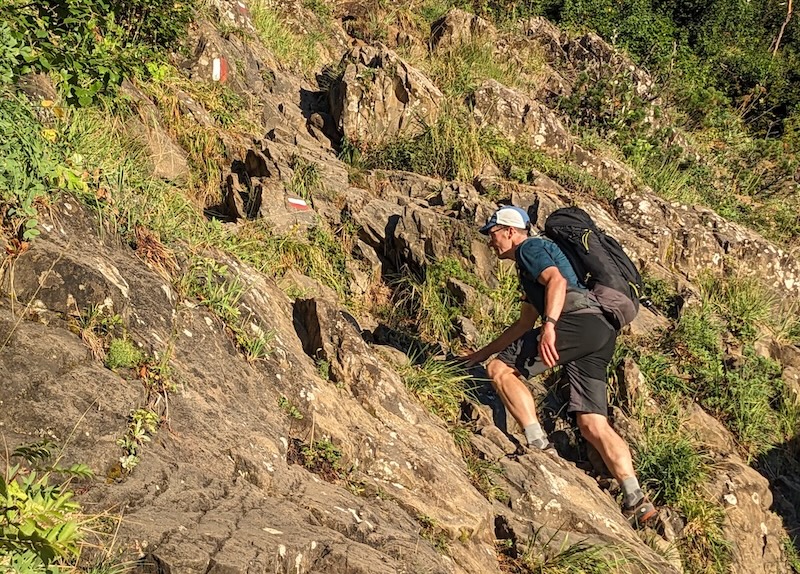
This is one of the hardest days of this entire loop but also one of the most beautiful. Leaving Refugio Pineta, you immediately start the long climb up toward Collado de Anisclo (roughly 3 hours with 1200m altitude gain). The trail has steep, open sections that require scrambling, and while none are cliffy, plunge-to-your-death scenarios, they are definitely not for the faint hearted. Several pushed my comfort zone but realistically I knew I wasn’t in any danger (despite a sign claiming exactly that). Going down this trail would be much worse (described as longest, hardest descent of the entire eastbound GR11)!
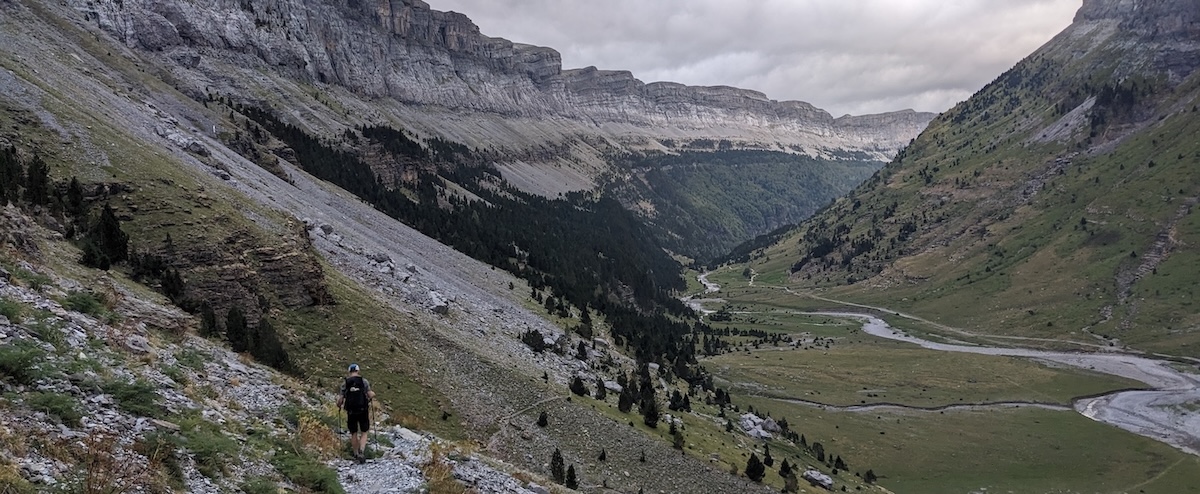
But, whew. From Collado de Anisclo (2453m), you descend into perhaps the most beautiful valley of this entire tour of superlatives, with plenty of places to soak your feet in the flowing river on your right. Follow this valley to the idyllic meadow, waterfalls, and bridge at Fuen Blanca (1692m) — a stunning camp spot if you’re carrying the right gear.
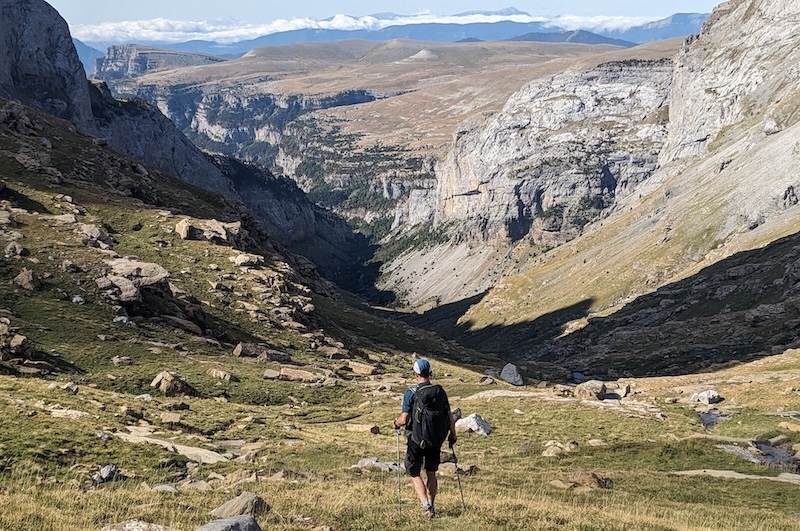
Next, the trail ascends steeply up second long ascent of the day — another 650m to Collado de Arrablo (approximately 2 hours). Eventually, you’ll reach several sections where the cliffs have eroded into a series of natural rock steps. These get a little heady in places, but the hand cables certinaly help. On the whole, I found the initial climb to Collado de Anisclo harder (both mentally and physically) than these sections.
The pass at Collado de Arrablo is relatively high at 2343m, but it’s dwarfed by the huge mountains around it — most notably, Monte Perdido to the north (third-highest peak in the Pyrenees at 3355m). From the pass, it’s an easy 2km to Refugio Goriz. This hut makes a great base for a day hike to the summit of Monte Perdido — one reason the hut is fully booked months ahead of time.
DAY 10: GORIZ to TORLA - 23km, ↑130m, ↓1310m
This long, downhill day takes you back to Torla through the beautiful Ordesa Canyon — a UNESCO World Heritage site. It’s truly beautiful, but I couldn’t help feeling days 2-9 of this hike are equally deserving of that status. The first part of the descent is over switchbacks to the pretty Cola de Caballo (“horsetail”) waterfall. The rest is a very gradual decline on a wide path, with pleasant wooded patches and many more waterfalls along the way. At some point, you’ll encounter crowds of daytrippers arriving from Torla, so an early start will allow you to enjoy the trail in peace and solitude for as long as possible.
At the base of the canyon walk, you’ll find a huge, empty parking lot (a relic from the days when private cars were permitted in the national park) and the bus stop for the shuttle back to Torla. We walked the whole way, thinking fondly back on perhaps the best hike we’ve ever undertaken.
WHAT TO PACK
- MAPS for Spanish side: Editorial Alpina’s 2-pack map “Parque Nacional Ordesa y Monte Perdido.
- MAPS for French side: Editorial Alpina’s 2-pack map “Midi d’Ossau - Balaitús: Alpina 30.”
- Everything I needed fit perfectly in my Deuter Speed Lite Pro 28L SL backpack.
- A collapsible water filter bottle is a game-changer in terms of lightening your load.
- hiking poles
- hiking boots
- 2L water system
- lightweight waterproof jacket
- bed liner
- 1 long sleeve shirt
- arm warmers
- 1 warmer layer
- 2 T-shirts
- 2 comfortable socks
- 2 underwear
- 1 pair hiking shorts, convertible pants, and/or bike leggings
- thin hat & gloves
- sun hat
- camera
- reading device/other entertainment
- snacks
- sunscreen
I hope this post has been helpful and interesting, either as a planning tool or armchair adventure. For other exciting trips and ideas, click on “HOME” at the top of the page. Thank you for visiting TheTravelBug.blog and happy travels!