5 Days Along the John Muir Trail in California’s Sierra Nevada Mountains
This challenging hike in the backcountry of Kings Canyon National Park takes you over rugged passes to beautiful lakes, babbling creeks, and magnificent mountain vistas. It covers one section of the 211-mile John Muir Trail (JMT) and a short stretch of the (mostly) overlapping Pacific Crest Trail (PCT), but in less intimidating proportions.
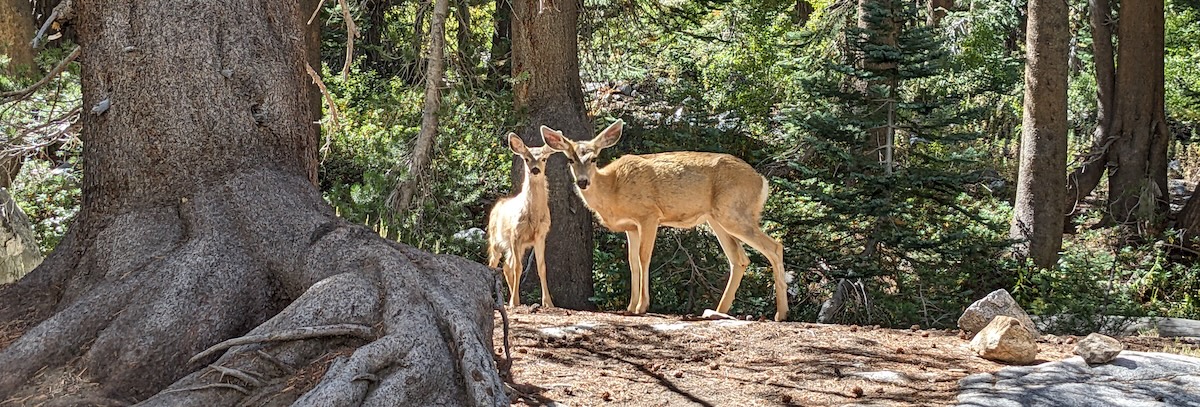
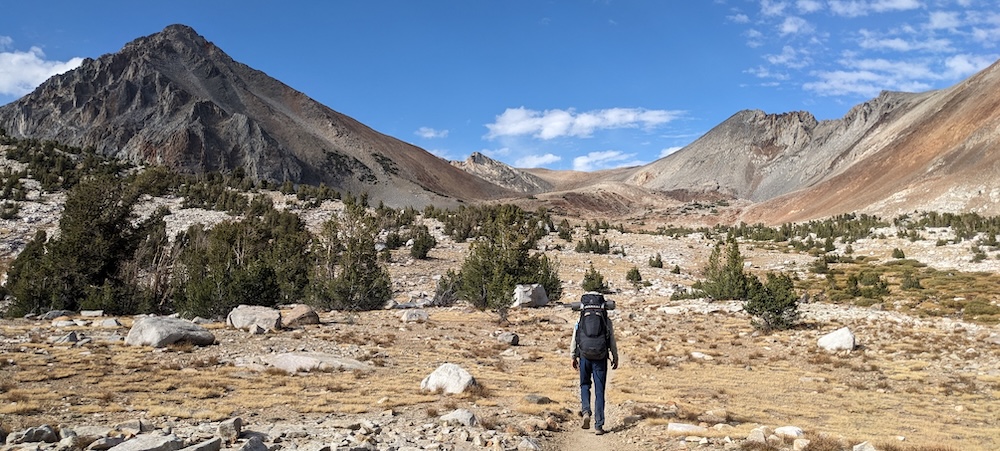
Even so, this hike requires some planning and significant preparation in terms of fitness due to the high altitude of the route. We felt extremely fit and well-prepared after ten days tackling much steeper passes in the Pyrenees, yet we still found this route quite taxing due to the high altitudes and our relatively heavy packs. But boy, was it worth it! We loved the clear, starry nights, the glimpses of wildlife, and jaw-dropping views. While I can’t personally compare this part of the JMT to others, southbound through-hikers I met along the way said this was the toughest section of the JMT, with scenery on par with what they’d marveled at farther north. All in all, this is a great trail for anyone looking for a short but challenging hike in the stunning Sierras.
GETTING THERE
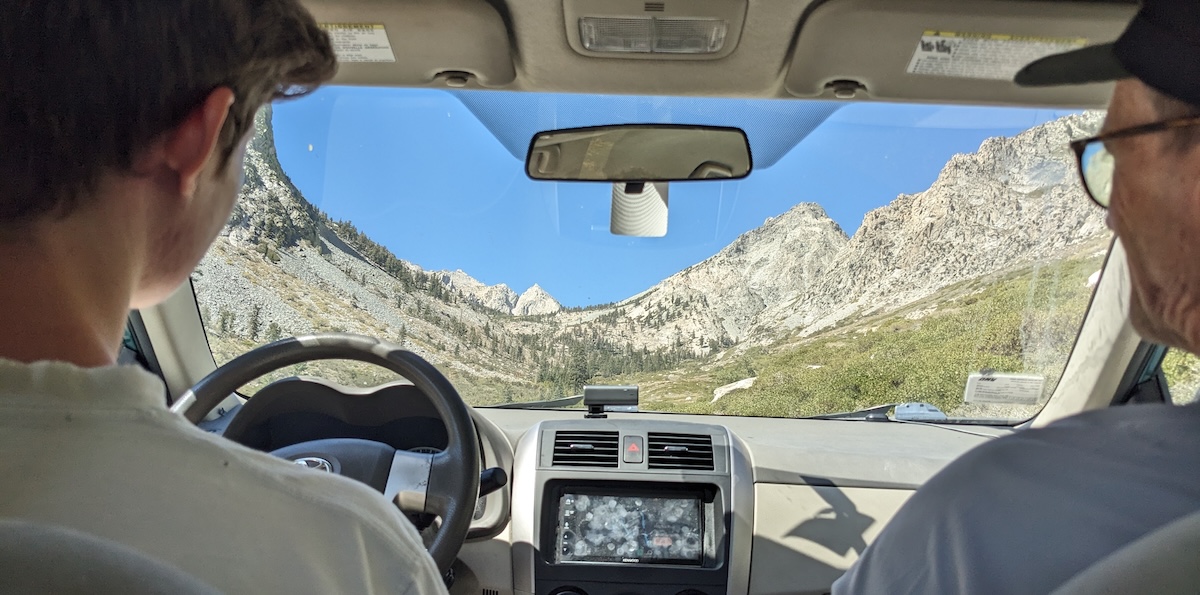
This one-way hike starts from the Onion Valley campground near Independence and ends at South Lake near Bishop, California, each of which are a four hour drive from Los Angeles or Las Vegas. However, “near” is relative — the trailhead at Onion Valley is 13mi (21km) from Independence and the finish at South Lake lies 18mi (29km) from Bishop. Public transportation can get you to either of those towns, but not to the trailheads.
The easiest option is to arrive in two cars and leave one at either end of the trail (about 90 minutes apart). Obviously, that’s not an option for everyone. If you have one car, park at South Lake and arrange for a shuttle to bring you to Onion Valley for the start of your hike. A handful of outfitters based in Bishop and Lone Pine cater to PCT and JMT hikers and offer shuttle services. These include the Mt. Williamson Motel and Chuck Tello, both found on this list.
You can also use public transportation to reach Independence and Bishop, though you will need a shuttle to reach the trailheads (or hoof it along the side of the road, a truly unappealing option).
PERMITS and other PRACTICALITIES
To hike in this area, you’ll need an Inyo National Forest Wilderness Permit. Use the drop down menu to choose “Kearsarge Pass” as your starting point and to list the overnight spots listed below. Permits cost $5 per person plus a $6 reservation fee — thus, $16 for two people.
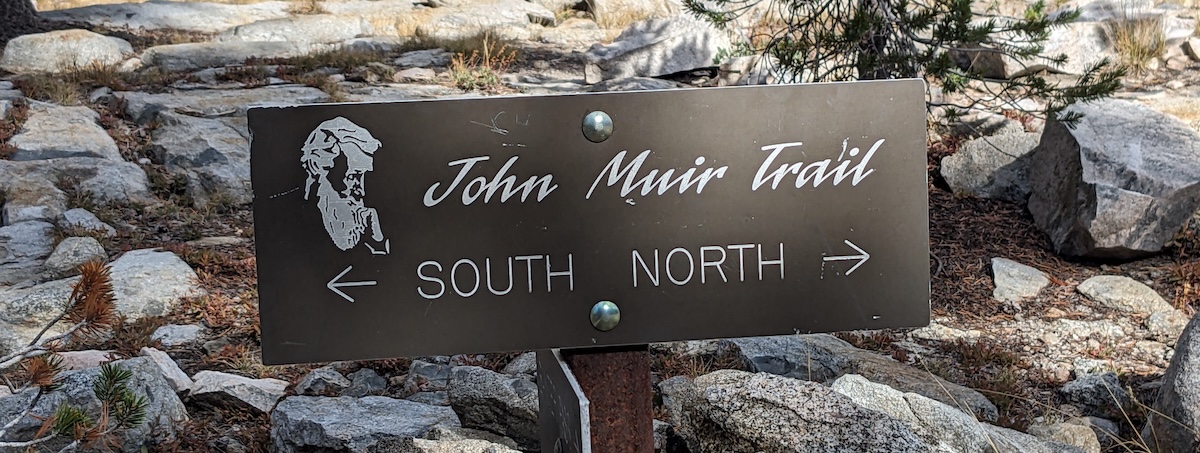
You’ll also need to reserve at least one night in Onion Creek campground, which you can reserve here for $39 per night. Along the JMT, you can camp almost anywhere as long as you abide by basic rules: 100+ft away from water sources and trails, preferably on previously used sites. See all regulations here.
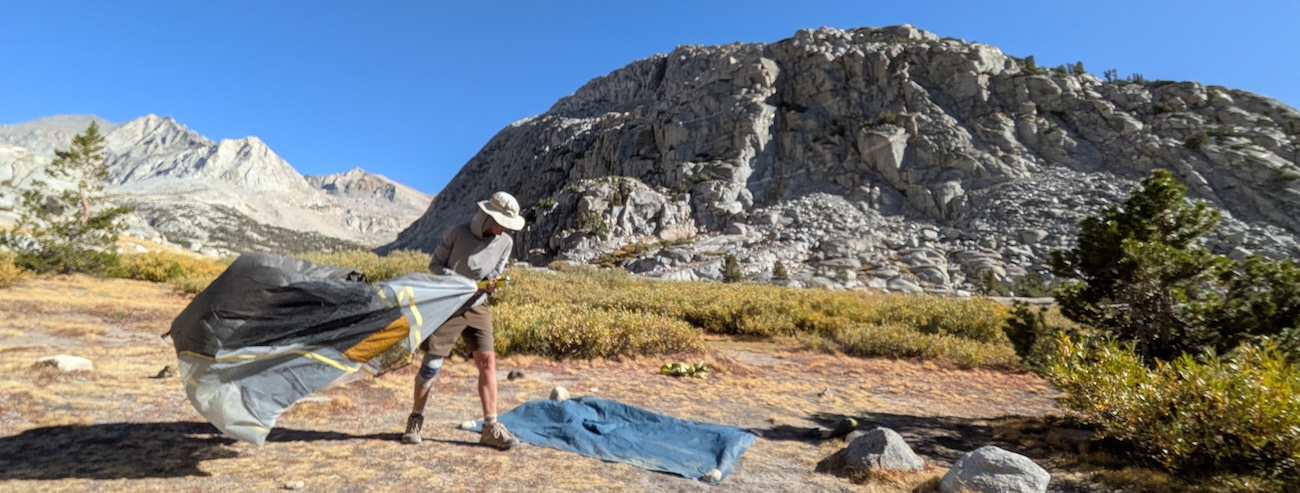
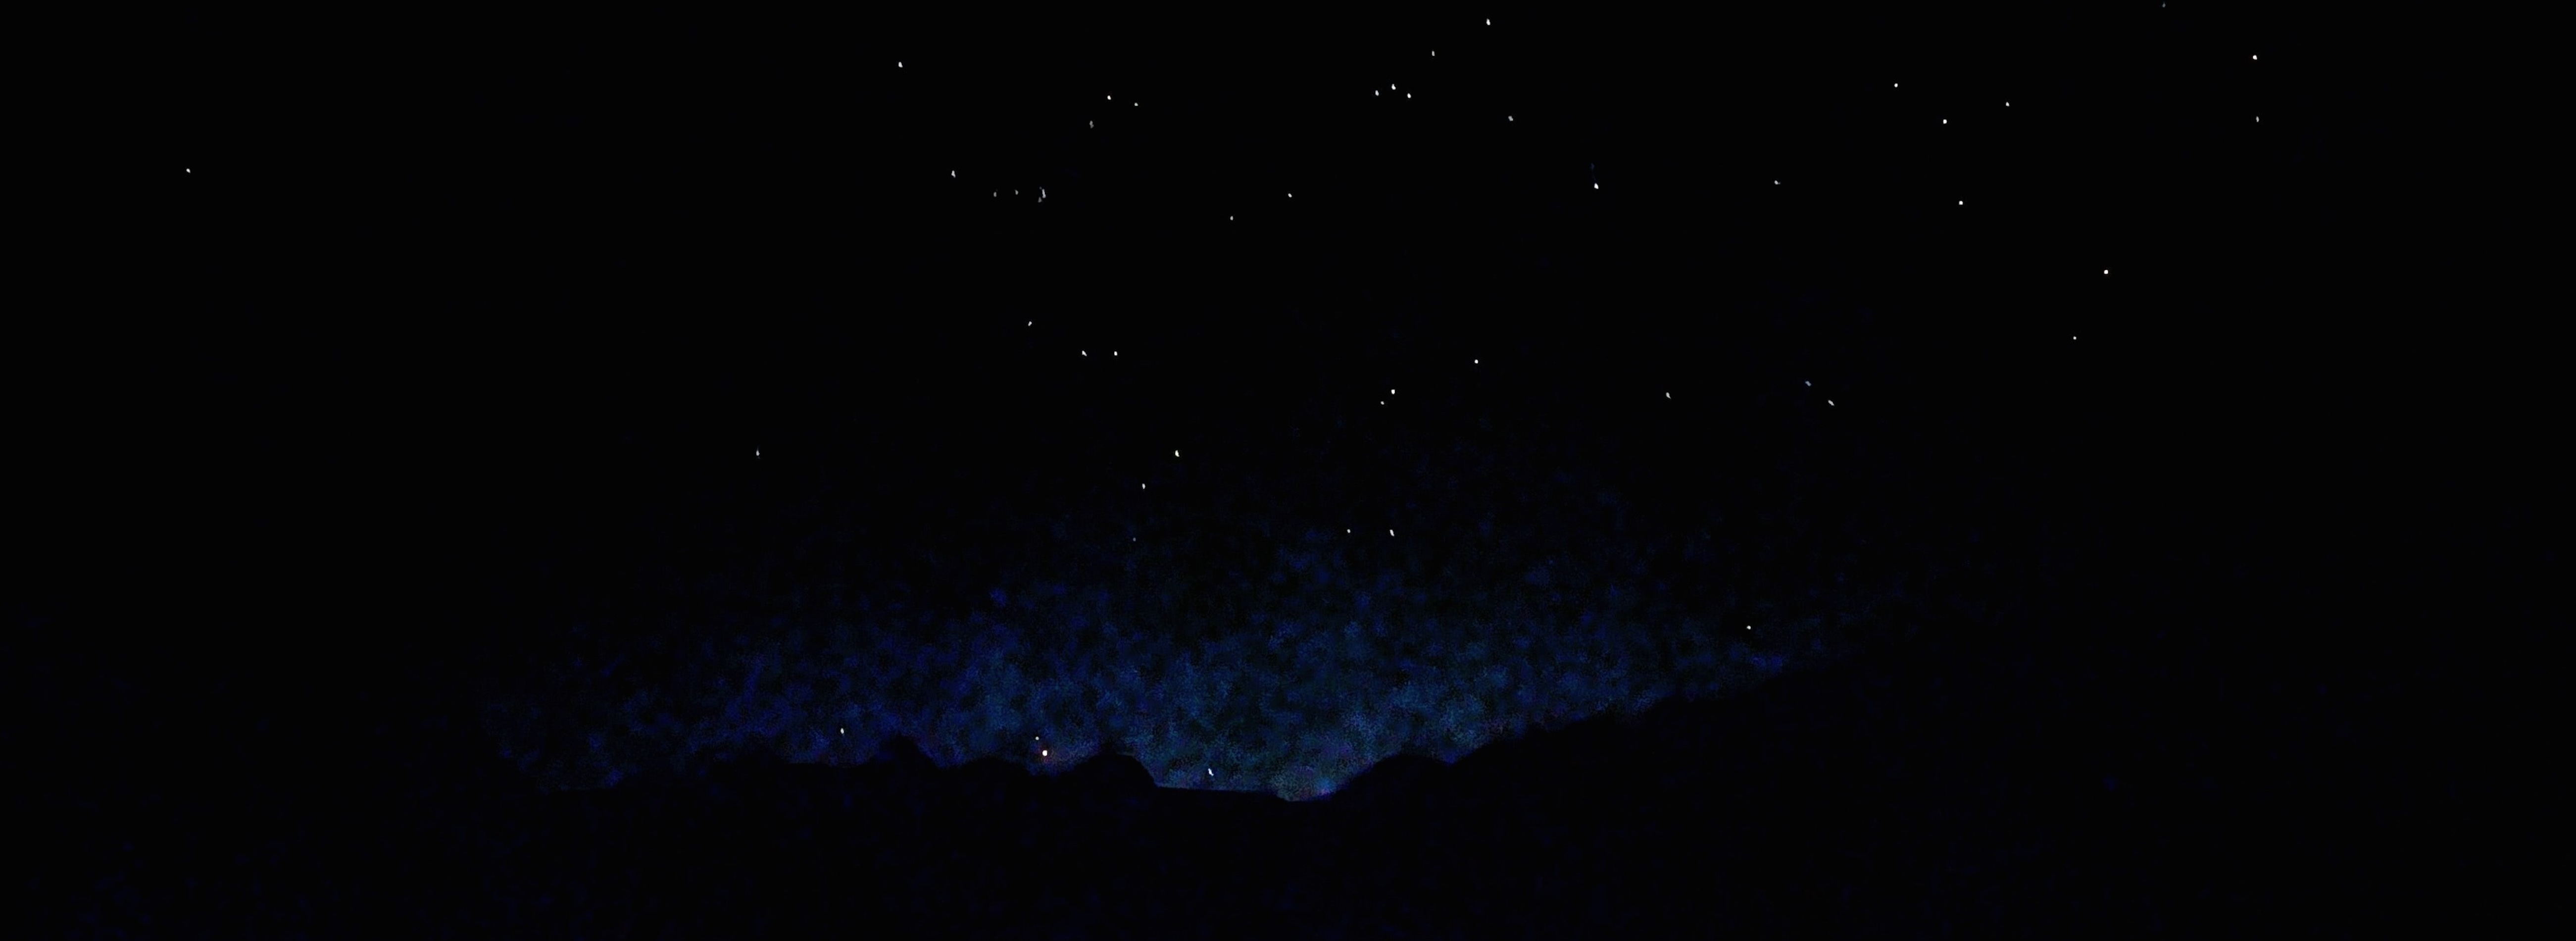
We hiked this trail in mid-September and enjoyed warm, bug-free days and not-too-freezing nights. At midday, the sun was so intense, we took short hourly breaks in the shade. By nightfall, however, temperatures plunged. The wind came blasting through our highest camp site (Lake Marjorie), and we awoke to frost and frozen puddles in other sites, but our 30°F-rated sleeping bags kept us comfortably warm every night. Our trip happened to coincide with the new moon, making for incredibly starry nights.
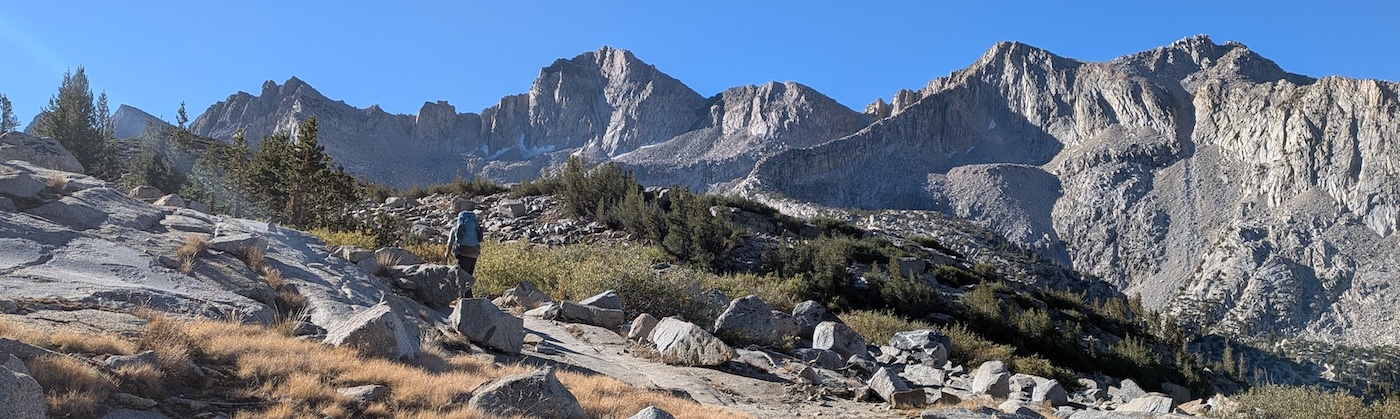
The popularity of the JMT means the trail is well-signed and easy to follow. The footing is good throughout and inclines to passes are gradual, so reaching the top of a pass is mostly a matter of plugging away for a few hours.
Parts of Day 1 and Day 2 overlap with the popular Rae Lakes Loop, and we were surprised to find a large number of campers at Rae Lakes. However, they were all fairly well spread out, and the trails never felt too crowded. You’ll enjoy even quieter trails after the point where loop hikers turn away from the JMT on Day 2. Note: distances and elevations listed below will vary depending on where you pitch camp.
FOOD, WATER and BEARS
Water is readily available year-round in this part of the Sierras, so there’s rarely a need to carry a full day’s load. Several times a day, you’ll pass a creek, river, or lake. Just make sure you carry a filter bottle or take other measures to purify your drinking water.
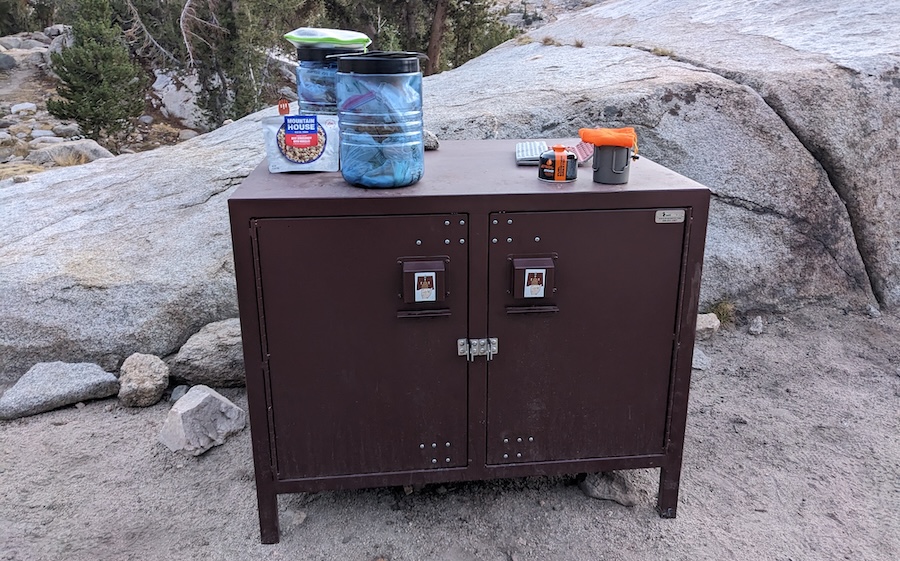
As this is bear country, you’re required to keep all food and fragrant items (sunscreen, lip balm, toothpaste) in an approved bear-proof container (see equipment list below). Onion Vallay and Rae Lakes campsites provide permanent bear boxes, but you’ll need your own “bear vault” elsewhere. This area is only inhabited by black bears, which are generally less aggressive and tolerant of humans than grizzlies. The most likely “danger” black bears pose is to your food supplies, so use your bear-proof container as directed and always abide by the “triangle rule”: that is, keeping your tent, cooking site, and food storage site at least 200ft/60m apart (about 70 large steps). If you’ve never hiked in bear country before, read this article.
We packed instant oatmeal for breakfast, snacks, camper’s meals for dinner, and shared another camper’s meal for lunch. The trick is to bring enough food to fuel yourself but not so much that you end up carrying excess weight. You’ll also need to carry a digging tool and a bag to pack toilet paper out with you. Again, you’ll find all details here.
DAY 0: ONION VALLEY
I’ve listed this as Day 0 to allow time to travel to Onion Valley campground. We actually started our trip with two nights in Onion Valley, which allowed us to arrive one day and do a day hike the day before setting off in earnest. Physiologically, this wasn’t enough time to acclimatize to the relatively high elevation, but it did allow us to test new gear and mentally prepare for the challenge.
DAY 1: ONION VALLEY to RAE LAKES
14mi, ↑4430ft, ↓2690ft (22km, ↑1350m, ↓820m)
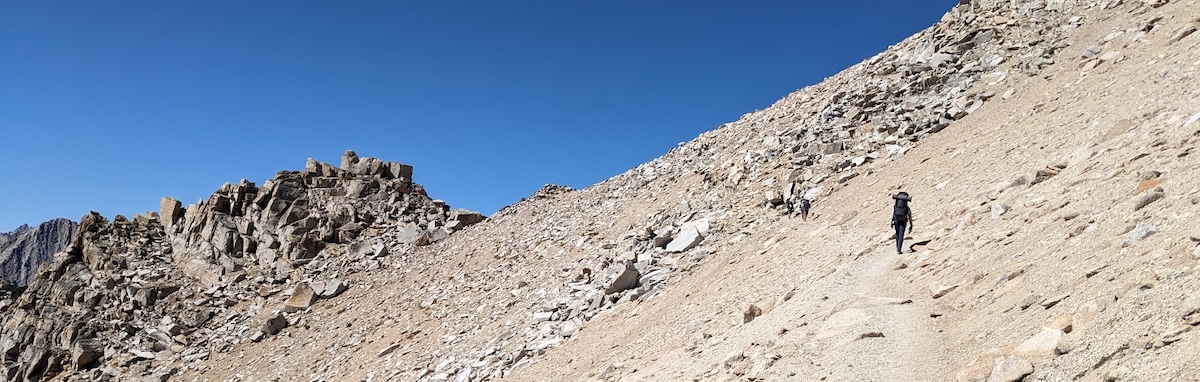
Upon leaving Onion Valley, you’ll immediately start the climb to Kearsarge Pass. Having done most of our hiking in Europe in recent years, we were surprised at the very moderate incline of this trail. Passes in the Alps, Dolomites, and Pyrenees are generally much shorter and steeper (usually taking 1-2 hours to “summit”), whereas trails to passes in the Sierras are much more gradual, with many more switchbacks, and often take 3+ hours. We reached Kearsarge Pass (11,835ft/3607m) in 2.5 hours for our first glimpse of the beautiful backcountry ahead.
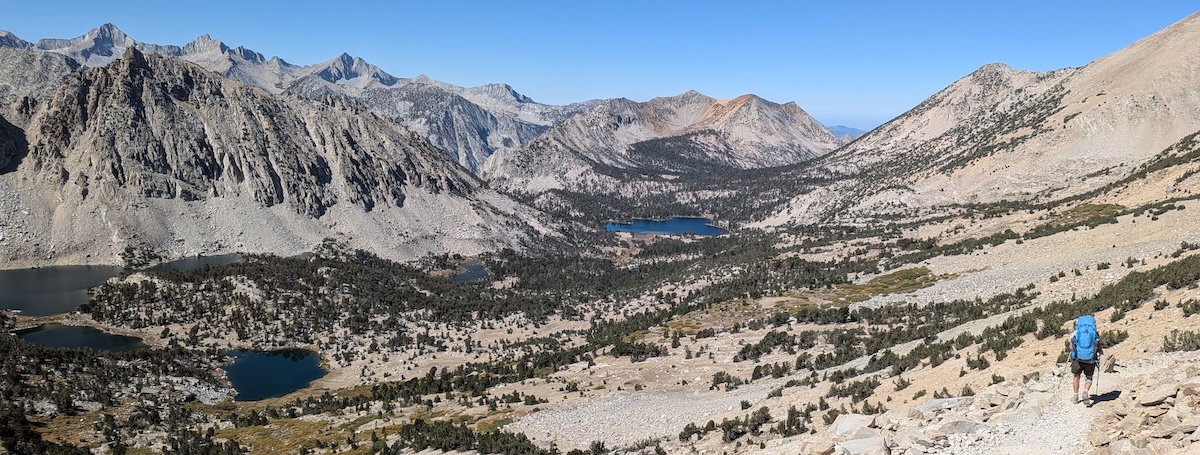
From the top of the pass, you’ll see Bullfrog Lake below, a nice spot for a late lunch, a good hour later. Not long after lunch, we were climbing again and feeling the altitude as we closed in on Glen Pass (11,978ft/3650m). However, the terrain never posed an issue, and I found this entire hike much easier on my achy knees than hikes in the Europe.
Finally, we descended to Rae Lakes where we pitched camp for a wonderfully starry first night in the backcountry. To my eye, the nicest camp sites were those north of the ranger station at Rae Lakes. For a shorter day, you can also stop at Charlotte Lake, well before Glen Pass. Camping at Bullfrog Lake was not permitted at the time of our visit.
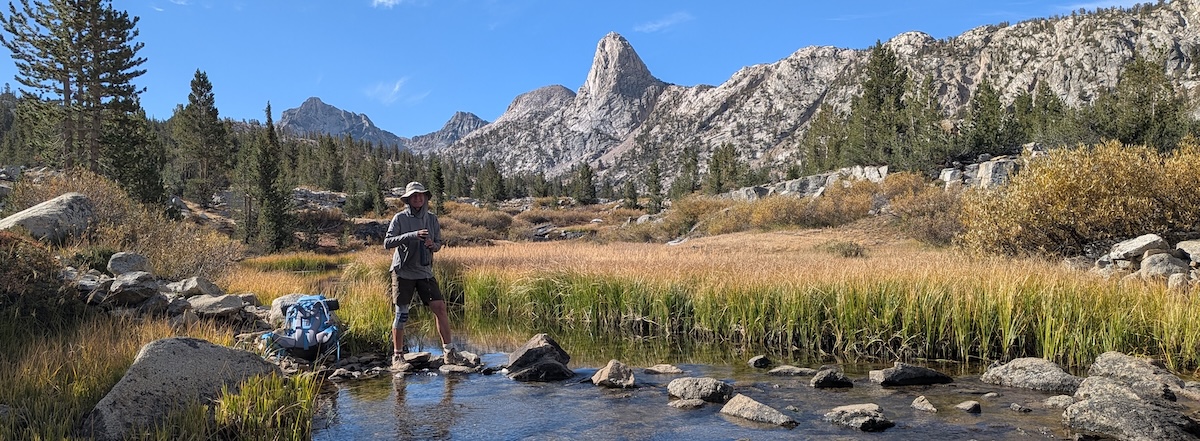
DAY 2: RAE LAKES to LAKE MARJORIE
15mi, ↑3870, ↓3120 (24km, ↑1180m, ↓950m)
Leaving Rae Lakes, you’ll follow a long, picturesque valley north and gradually lose elevation until you reach a trail junction 4 miles (6km) away. JMT is clearly signed to the right, while hikers following the Rae Lakes Loop will turn left. That means you’ll encounter noticeably fewer people from this point onward.
Cross the suspension bridge over Woods Creek and climb steadily all the way to Pinchot Pass (12,130ft/3697m). The scenery is gorgeous as you parallel the creek, which slides over smooth rock and tumbles over small falls. Make sure you refill here before hitting the barren moonscape ahead. Up and up you’ll go until finally reaching the top of the pass. Whew!
You’ll see Lake Marjorie from there (the second lake north of the pass, less than 2 miles away) and have your pick of spots for the night there. At approximately 11,130 ft elevation (3390m), Lake Marjorie is the highest overnight spot along this route. We picked a spot behind a boulder to shelter from the wind, which howled all night. I still slept like a log, though!
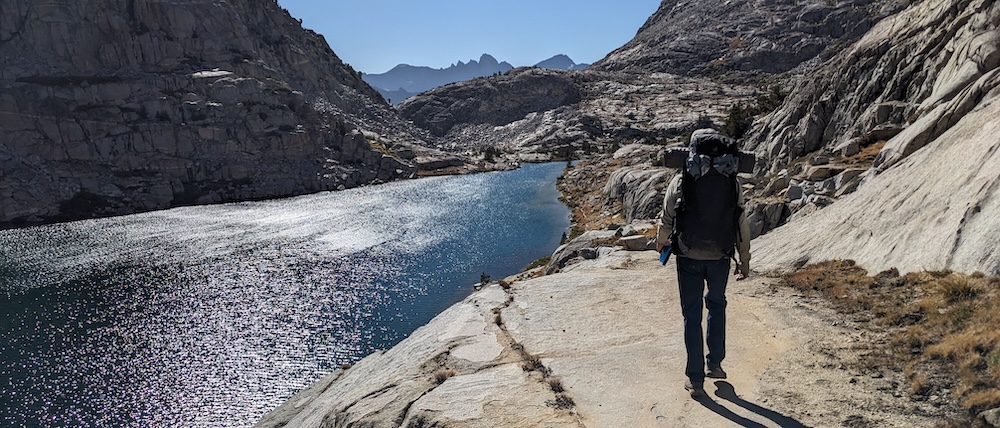
DAY 3: LAKE MARJORIE to PALISADES LAKES
12mi, ↑2315ft, ↓2625ft (20km, ↑706m, ↓800m)
This day starts with a long descent, first to pretty Bench Lake, then to the Kings River crossing. Then it’s up, up, up to Mather Pass (12,100ft/3688m), six long miles later. We made sure to grab our last chance for a last, shady break before setting off over the exposed section of the climb. As elsewhere, the footing was good and the incline gradual, so reaching the top of the pass was mainly a matter of plugging away over long, gradual switchbacks.
Then, hooray! It’s all downhill to Palisades Lakes. They look closer than they are, though — for us, a full two hours from the summit. The solitary spot we camped in at the north end of the northern lake was our favorite of this hike, and the relatively short distance of this day gave us enough time to wash up in the creek and enjoy down time well before the sun set. Heaven!
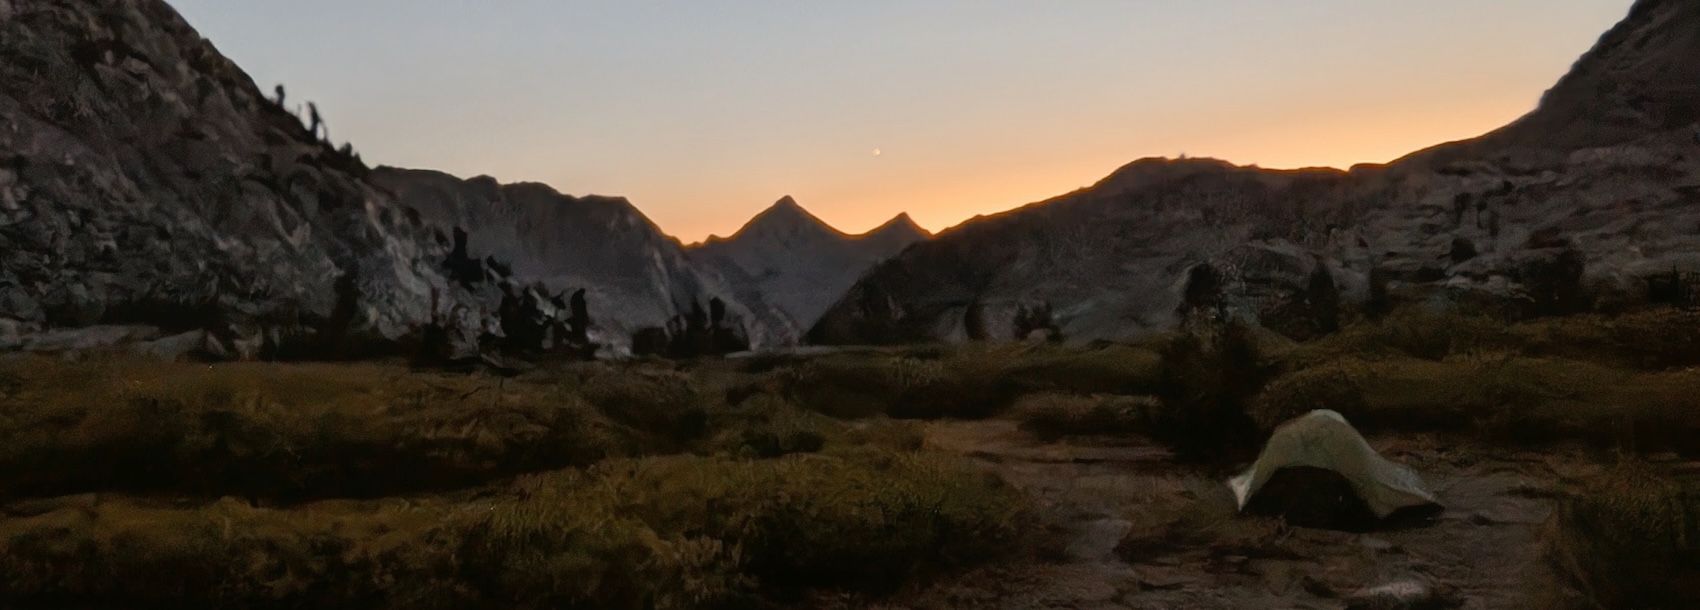
DAY 4: PALISADES LAKES to “LOOKOUT POINT”
13mi, ↑1935ft, ↓2950ft (21km, ↑590m, ↓900m)
This is the only day of the route without a mountain pass to traverse. By now, your pack should also be significantly lighter, so it’s definitely a day to enjoy on many levels. Of course, going downhill can be taxing in its own way, but we did not find the much-vaunted “staircase” north of Palisades Lakes to be tricky in any way. Southbound hikers heading up the staircase certainly worked up a sweat, but that was the extent of the challenge.
Soon, we reached the soft footing of the lower valley and wound through woods and along meadows with stunning views of Ramboud Peaks and Devil’s Crags in the distance. At the T intersection at the foot of those peaks, turn right to stay on the JMT. This riverside intersection also makes a great lunch spot.
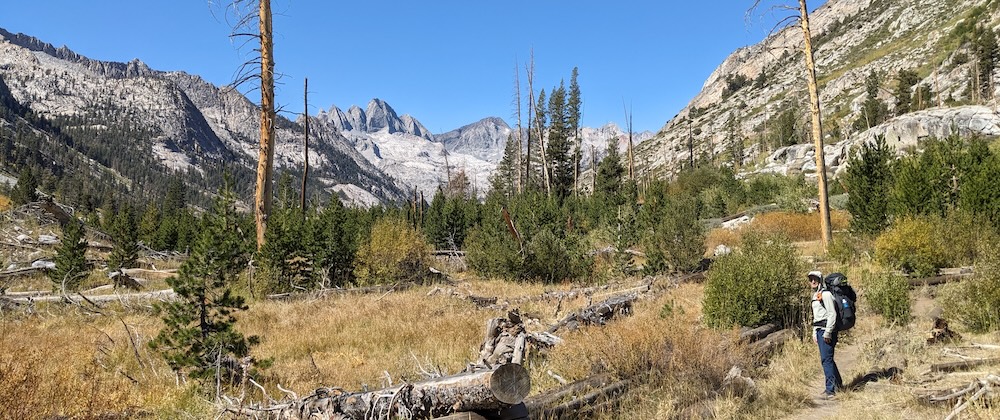
Three more miles of easy, wooded trail brings you to the LeComte Canyon ranger station, where we originally planned to camp. However, having spent the past few nights in wide-open, starry areas, we found the area a little gloomy and decided to continue up toward Dusy Basin, thus making a dent in the next day’s mileage. We walked another hour and gained about 650ft (200m) elevation until stopping at a nice spot I dubbed “Lookout Point” due to its position atop a wide, rocky ledge. We pitched our tent in a wooded spot to the left of the trail and watched the sun set from the rocky outcrop on the right, with spectacular views over LeComte Valley. There was no water source in the immediate vicinity, but a flat four-minute walk brought us to a creek where we could bathe and tank up on water. All in all, a beautiful, memorable spot for our last night along the JMT!
Those with time and energy could consider continuing all the way to pretty Dusy Basin, but we were happy to savor our last night in our very own, special spot.
DAY 5: “LOOKOUT POINT” to SOUTH LAKE
13mi, ↑1935ft, ↓2395ft (21km, ↑590m, ↓730m)
Thanks to the head start made the previous day, it isn’t much more of a climb to reach beautiful Dusy Basin and eventually, Bishop Pass (11,972ft/3650m). That also marks the boundary of Kings Canyon National Park, where you can look back with a real sense of accomplishment. Then it’s time for the final part of this hike: the long downhill to South Lake. The first part of the trail down is typical of the other descents on this route: a bit rocky and steeper near the top, with tight turns over short switchbacks but no tricky footing. Eventually, you’ll reach more moderate terrain and make your way past a long chain of pretty lakes. The lower you get, the wider and busier the trail becomes with lots of day-trippers and weekenders ascending to Bishop Pass from South Lake.
We ended this route tired but happy and excited to return to cover the next section of the JMT someday!
WHAT TO PACK
- map - Tom Harrison Maps “Kings Canyon High Country”
- my 65L Deuter backpack fit all my gear, but the bear vault made for a very tight fit. A slightly larger backpack might be better. Just don’t be tempted to overpack!
- tent. We loved our cozy, lightweight Nemo Hornet Osmo 2-person tent
- Lightweight sleeping bag rated to 30°F or better
- lightweight sleeping pad
- BV500 Bear Vault
- collapsible water filter bottle
- 2L water system
- stove and fuel
- 750ml cooking pot works well for two people
- food and long-handled spork
- hiking poles
- hiking boots
- lightweight waterproof jacket
- arm warmers
- 1 warmer layer
- 1-2 long sleeve, hooded sun protection shirts
- 2 comfortable socks
- 2 underwear
- 1 set thin long underwear for chilly nights
- 1 pair hiking shorts, convertible pants, and/or bike leggings
- thin hat & gloves
- sun hat
- camera
- reading device/other entertainment
- snacks
- sunscreen
- toilet paper, digging tool & dog poop bags to carry it out in.
I hope this post has been helpful and interesting, either as a planning tool or armchair adventure. For other exciting trips and ideas, click on “HOME” at the top of the page. Thank you for visiting TheTravelBug.blog and happy travels!